Under cabinet lighting can make a big difference in your kitchen or workspace by adding both style and function. If you want brighter counters without bulky lamps, this type of lighting is a great choice.
You can install under cabinet lights yourself with basic tools and some careful steps to improve your space quickly and safely.
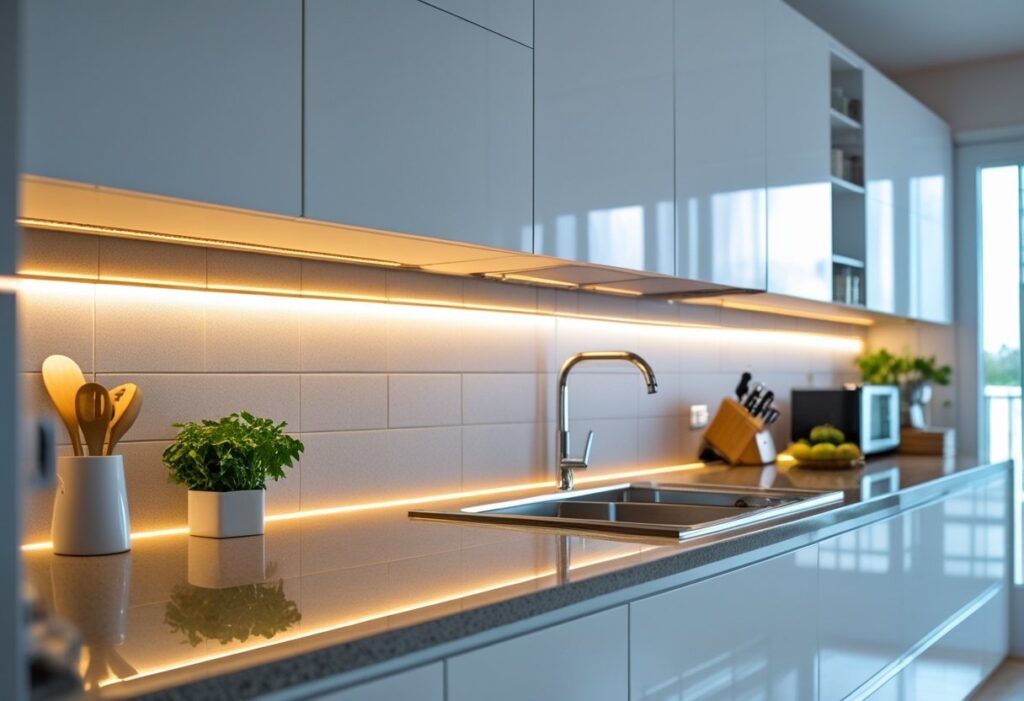
When you add these lights, you’ll make your tasks easier by reducing shadows and improving visibility. Whether you choose LED strips or puck lights, you usually mount the fixtures under your cabinets and connect them to power.
Knowing how to handle wiring and placement helps your lighting work well and look neat.
Understanding Under Cabinet Lighting
Under cabinet lighting comes in different styles and offers various benefits. Picking the right type depends on your space and what you want to achieve with your lighting.
The options vary by brightness, color, and installation method.
Types of Under Cabinet Lighting
You can find several common types of under cabinet lighting to choose from:
- LED strips: These are flexible and easy to install. They use little energy and last a long time.
- Puck lights: Small, round lights that create focused spots of light. They work well for task lighting.
- Fluorescent lights: Bright and efficient but bulkier than LEDs. They spread light evenly.
- Rope lights: Tubes with small bulbs inside. They provide a soft, continuous glow.
Each type has different power needs and fits certain shelf sizes better. Think about where you want to place the lights and how you plan to use them.
Benefits of Under Cabinet Lighting
Under cabinet lighting makes your kitchen or workspace brighter and safer. It reduces shadows on your counters so you can see better when chopping or cooking.
It also highlights your countertops and backsplash, improving the room’s look. Because these lights are close to the work area, they use less energy than overhead lights.
You can set the mood with dimmable options or different light colors like warm white for a cozy feel. Having dedicated lighting can add value if you plan to sell your home.
Choosing the Right Lighting for Your Space
When picking under cabinet lights, focus on brightness, color, and installation style. Brightness is measured in lumens—around 300-500 lumens per foot works well for most kitchen counters.
Choose color temperature between 2700K (warm) and 4000K (neutral) depending on your preferred look. Cool white light can seem harsh in homes but is good for work areas.
Consider how you will power the lights. Some plug into outlets, while others hardwire into your home’s electric system.
Battery-powered options exist but are less common. Think about whether you want lights with switches, dimmers, or smart controls for easier use.
Installation ease also matters. Some systems come with adhesive backing, while others need screws or clips.
Tools and Materials Needed
Before you start, make sure you have everything ready to make the installation smooth and safe. You’ll need some basic tools, specific materials for the lighting, and safety equipment to protect yourself.
Essential Tools
You will need a screwdriver set, both flathead and Phillips, to remove existing fixtures and secure the new lights. A drill with drill bits is important for making holes to mount the light strips or fixtures.
A measuring tape helps you position the lights evenly under the cabinet. Wire strippers and cutters are needed to connect wires cleanly and safely.
A voltage tester lets you check the power is off before working on any electrical parts. A ladder or step stool will help you reach tight or high places easily.
Having these tools ready will save you time and keep your work accurate.
Recommended Materials
Start with LED light strips or puck lights designed for under cabinet use. These lights are energy-efficient and provide good brightness.
You’ll also need power cords, connectors, and possibly an extension cord if the light’s length isn’t enough. Look for dimmer switches or controllers if you want to adjust the light brightness.
Double-sided tape or mounting brackets can hold the lights in place. If your cabinet faces are wood or metal, check that your mounting hardware is suitable.
You might also need wire nuts to safely connect wires together.
Safety Equipment
Safety glasses protect your eyes from dust, small particles, or accidental sparks. Wear gloves to protect your hands while handling sharp tools or wires.
Make sure to turn off the power at the circuit breaker before starting any electrical work. Use a non-contact voltage tester to be sure the wires are safe.
Keep a first aid kit nearby in case of minor cuts or scrapes when working under cabinets. Safety gear keeps your hands and eyes safe while you focus on the installation.
Preparing for Installation
Before you start installing under cabinet lighting, plan where the lights will go, make sure the power is off, and gather all the tools and materials you’ll need. These steps help keep the job safe and organized.
Measuring and Planning Layout
Begin by measuring the length of the cabinet where you want to install the lighting. This helps you decide how many light fixtures or strips you’ll need.
Mark spots where you want to place lights for even coverage. Think about areas that need more brightness, like corners or workspaces.
Consider how you’ll hide the wiring for a clean look. Plan where the power source will be and how the wires will connect to it.
Turning Off Power and Safety Precautions
Before you touch any wiring, turn off the power at the circuit breaker to avoid electrical shock. Use a voltage tester to confirm the power is off.
Wear safety gear like gloves and safety glasses. Avoid working alone if you’re not experienced with electricity.
If the wiring looks old or damaged, consult a professional before continuing.
Gathering Required Supplies
Make a list of what you need: lighting fixtures or LED strips, power adapters, wires, connectors, screws, and mounting clips. You’ll also need tools like a drill, screwdriver, wire strippers, tape measure, and a voltage tester.
Get supplies that match your cabinet type and lighting choice to avoid compatibility problems. Having everything ready saves time and keeps the installation smooth.
How to Install Plug-In Under Cabinet Lighting
You will attach the light fixtures under your cabinets, arrange the cords neatly, and check to make sure everything works. Taking your time with each step helps ensure safe and clean installation.
Mounting the Light Fixtures
Start by choosing the exact spots under your cabinets where you want the lights. Mark those spots lightly with a pencil.
Most plug-in lights come with mounting clips or brackets. Use a drill or screwdriver to secure the clips firmly to the underside of your cabinets.
Make sure they are spaced evenly to avoid dark spots when the lights are on. Avoid mounting near handles or hinges to prevent damage.
Once the clips are mounted, snap the light fixture into place. If the light has adhesive backing, press it firmly and hold for a few seconds to ensure it sticks well.
Managing Cords and Concealing Wires
Plug-in lights come with cords that you need to handle carefully. Start by routing the cords along the back or underside of the cabinets.
Use cord clips, zip ties, or adhesive cable organizers to keep wires tight and hidden. Avoid letting cords hang loosely, as they can snag or look messy.
If your kitchen outlet is far from the light, tuck the extra cable neatly into hidden spaces or behind appliances. Never stretch the cord tightly or let it rest near sharp edges or heat sources.
Testing the Installed Lights
Before finishing up, plug the lights into an outlet and switch them on. Check each fixture to confirm it lights up evenly.
If some lights don’t turn on, double-check connections and make sure the fixture is securely mounted. If flickering happens, try plugging into a different outlet.
Test the position of cords and clips to ensure everything stays put when you use the lights. Adjust if needed for a clean and professional look.
How to Install Hardwired Under Cabinet Lighting
Installing hardwired under cabinet lighting involves working with electrical wires, connecting fixtures safely, and securing them properly to your cabinets.
You will handle wiring the lights, linking them directly to your home’s power, and making sure the fixtures stay firmly in place.
Wiring the Fixtures
Start by turning off the power at your circuit breaker to keep everything safe. Connect the fixture wires according to the color codes: black to black (hot), white to white (neutral), and green or bare copper to ground.
Use wire nuts to secure the connections tightly. Wrap the nuts and exposed wires with electrical tape for extra safety.
Arrange the wires neatly inside the fixture’s junction box to avoid any crowding or pinching. Check your fixture’s instructions for any special wiring needs.
Connecting to the Power Source
Connect your under cabinet lighting to the household electrical wiring, typically located in the nearby wall or ceiling. Locate a junction box where you can access the power wires.
Run your fixture’s wiring from the cabinets to this box. Attach the wires just like you did with the fixture, matching black to black, white to white, and ground wires together.
Use a cable connector where the wiring enters the junction box to keep wires secure. After all connections, mount a cover plate on the box to protect everything.
Keep power off until all connections are confirmed and secure.
Securing Fixtures Under Cabinets
Use screws or brackets that come with your lighting kit to attach the fixtures under your cabinets. Start by marking where each light will go.
Drill pilot holes if needed to avoid splitting the wood. Attach the fixture firmly but don’t overtighten.
If your lights have a track or strip design, slide or clip them into place following the instructions. Make sure wires are tucked away and not visible.
Test the lighting before finishing to make sure everything is secure and working well.
Customizing Your Under Cabinet Lighting
When setting up your under cabinet lights, you can control how bright the lighting is and what color it shows. These options help you create the right mood and fit your daily needs better.
Adding Dimmers or Smart Controls
Adding a dimmer switch lets you change the brightness without changing the bulbs. You can make the light softer for relaxing or brighter for cooking tasks.
Smart controls go further. With a smartphone app or voice commands, you can turn the lights on or off, dim them, or set timers.
This makes your lighting more convenient and energy-efficient. When choosing dimmers or smart controls, check they are compatible with your light type, such as LED or halogen.
This ensures smooth operation and avoids flickering or damage.
Adjusting Light Color and Brightness
Some under cabinet lights let you change the color temperature. You can pick from warm white (yellowish), cool white (blueish), or daylight (bright and neutral).
Warm light feels cozy and is great for evening time. Cool white improves visibility when preparing food.
Daylight color works well if you want true colors and maximum clarity. Adjust brightness by switching bulbs, using dimmers, or picking lights with adjustable settings.
Balance brightness to avoid shadows on your counters but also save energy.
Troubleshooting Common Installation Issues
You might run into some problems while installing under cabinet lighting. The most typical ones are flickering lights and uneven lighting.
Fixing these will help your lights work well and look great.
Fixing Flickering Lights
Flickering usually means there’s a loose connection or a power issue.
First, check if all wires are tightly connected. Loose wires can cause the lights to flicker on and off.
Make sure the power is off before you touch any wiring. If the wiring is secure, look at the dimmer switch.
Some dimmers don’t work well with LED lights and cause flicker. Try replacing the dimmer with one made for LED lighting.
Check if the voltage matches your lights’ requirements. Using the wrong voltage can cause flickering and damage.
Dealing With Uneven Lighting
Uneven light happens when some areas look brighter or darker than others under your cabinets.
Start by checking the spacing of your light fixtures. Lights too far apart cause dark spots.
Try to space them evenly. Look at the direction of each light.
Adjust the angle to help spread light better across your workspace. If you use LED strips, make sure they are stuck flat and straight.
Bends or gaps can cause shadows. Consider using a diffuser or frosted cover.
This softens the light and spreads it more evenly.
Maintenance and Care Tips
Regular cleaning and timely bulb replacement keep your under cabinet lighting working well.
Cleaning Your Fixtures
Dust and grease often build up on your light fixtures, especially in kitchens. Use a soft, dry cloth to gently wipe the surface.
If grime is tougher, dampen the cloth with mild soap and water. Dry the fixture fully after cleaning.
Avoid harsh chemicals or abrasive pads because they can damage the finish or cover. Clean your lights about once a month to keep them bright.
Replacing Bulbs or LED Strips
Turn off the power before replacing bulbs or LED strips to stay safe. Check the type of bulb or LED strip you have to buy the right replacement.
Replace bulbs with the same wattage and type to avoid damage. For LED strips, use the correct voltage and size.
Handle LED strips carefully since they are delicate. Keep a small toolkit handy for screws or clips.
Maximizing Lifespan of Lighting
Turn off your lights when you do not need them. Use a timer or smart switch to automate this.
Keep wiring connections secure and dry. If you notice flickering or dimming, check for loose wires or worn sockets.
Inspect your fixtures and wiring regularly to find problems early and avoid bigger issues.
Frequently Asked Questions
This section covers simple ways to install under cabinet lighting, options for DIY work, and tips for working with LED strips.
You’ll also learn how to add a switch, handle tiled backsplashes, and use wireless lights.
What is the easiest method for installing under cabinet lighting?
The easiest way is to use plug-in LED strip lights or puck lights. Mount the lights and plug them into a nearby outlet.
This method avoids complex wiring and saves time.
Can I install under cabinet lighting without an electrician?
Yes, if you choose plug-in lights or battery-powered options. These do not require special tools or wiring.
For hardwired lights, professional help is safer to ensure electrical codes are met.
What are the best practices for installing LED strip lights under cabinets?
Clean the mounting surface well before applying the LED strips. Measure and cut the strips to fit your space.
Secure them with the adhesive backing. Keep the wiring organized and avoid placing strips near heat sources.
How do you install under cabinet lighting with a switch?
You can add a switch by wiring the lights to a wall switch or a switch mounted under the cabinet.
Turn off power before working with wiring. Use wire connectors and follow your local electrical guidelines.
What steps should be followed to install under cabinet lighting on a tiled backsplash?
Use strong mounting tape or brackets suitable for tiles to secure the lights. Avoid drilling if possible.
If you need to drill, use a masonry bit. Seal any holes to prevent water damage.
Is it possible to install wireless under cabinet lights, and how?
Yes, you can install wireless lights that run on batteries or rechargeable power.
You mount them with adhesive or screws.
You control them using a remote or motion sensors.