Installing a GFCI outlet is a smart way to keep your home safer, especially in places like kitchens, bathrooms, or outdoor areas. A GFCI outlet protects you from electrical shocks by quickly cutting power if it detects a ground fault.
Knowing how to install one correctly ensures you get this important protection where you need it most. You’ll want to turn off your power first and identify the “LINE” and “LOAD” sides on the GFCI outlet to make sure wires are connected properly.
With a few simple tools and clear steps, you can add or replace an outlet to meet safety codes and protect your family from electrical hazards. This guide will walk you through the process in a clear and friendly way.
Understanding GFCI Outlets
GFCI outlets are important safety devices that help protect you from electrical shock. They work by constantly monitoring the flow of electricity and quickly cutting power if something goes wrong.
These outlets are required in certain areas where water and electricity might meet.
What Is a GFCI Outlet?
A GFCI outlet, or Ground Fault Circuit Interrupter, is a special type of electrical outlet. It is designed to protect you from electric shocks caused by ground faults.
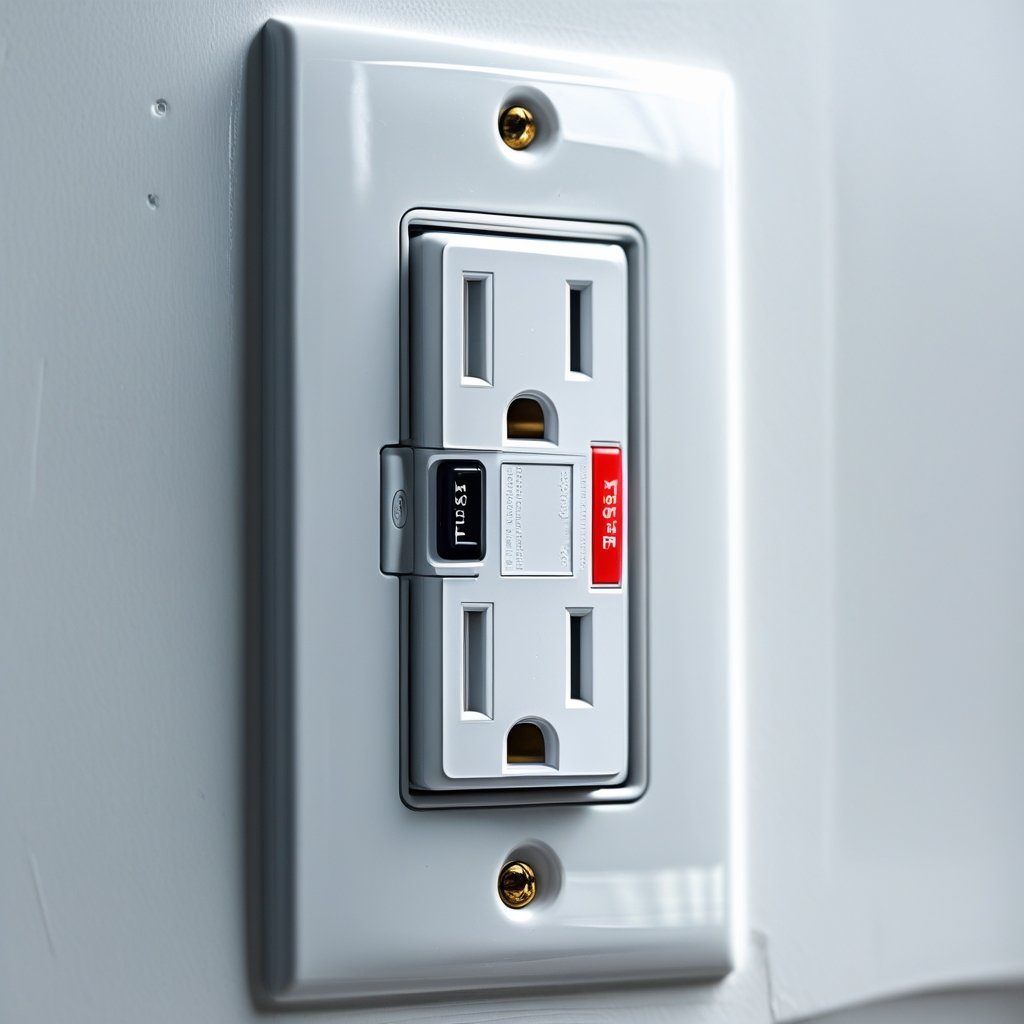
A ground fault happens when electricity takes an unintended path to the ground, such as through water or a person. GFCI outlets look similar to regular outlets but have “Test” and “Reset” buttons on the face.
These buttons let you check that the outlet is working properly and reset it if it trips.
How GFCI Outlets Work
A GFCI outlet checks the balance between the electrical current flowing into the outlet and the current flowing back. Normally, these currents should be equal.
If the GFCI detects even a tiny difference, such as when electricity is leaking to the ground, it shuts off the power in less than a second. This quick action can save you from a dangerous shock.
When and Where GFCI Outlets Are Required
GFCI outlets must be installed wherever there is a higher risk of electric shock. Common places include bathrooms, kitchens, garages, basements, and outdoor areas.
Building codes, like the National Electrical Code, require GFCIs in these areas. If you are replacing or adding outlets in these spots, a GFCI is usually needed.
Always check local rules as they may have specific requirements.
Tools and Materials Needed
To install a GFCI outlet, you’ll need a few specific tools and materials. These will help you safely remove the old outlet, handle wiring, and complete the installation.
Having the right gear makes the process smoother and reduces risks.
Essential Installation Tools
You will need basic electrical tools like a screwdriver, wire strippers, and a voltage tester. The screwdriver helps remove the outlet cover and screws holding the outlet in place.
Wire strippers are for trimming and preparing wires to connect them securely to the outlet. A voltage tester is important to check that the power is off before you start working.
This tool helps prevent shocks by confirming the wires are not live. You might also need electrical tape to wrap wire connections and needle-nose pliers to bend wires when attaching them to terminals.
Make sure your tools are in good condition and insulated for safety while working with electricity.
Recommended Safety Gear
Protecting yourself is key when working with electrical outlets. You should wear safety glasses to guard your eyes from sparks or debris.
Insulated gloves provide extra protection against accidental shocks. Wear clothes that cover your arms and avoid loose sleeves that could get caught.
Make sure you turn off the breaker that controls the outlet before starting any work. It’s also smart to have a flashlight handy if you’re working in a dark space.
Keeping your work area dry and clear of clutter helps prevent accidents while installing the GFCI outlet.
Choosing the Right GFCI Outlet
When selecting a GFCI outlet, make sure it fits your electrical box and is rated for the right amperage, usually 15 or 20 amps. Most GFCI outlets fit standard outlet boxes, so replacement is often easy.
You should pick a GFCI outlet with clear labeling for Line and Load terminals. These labels tell you where to connect wires and ensure the outlet functions properly.
Some models include extra features like test and reset buttons or weather-resistant options if you’re installing outdoors. Choosing a reliable brand and checking current electrical codes will make sure your new GFCI outlet works safely and lasts.
Safety Precautions
When installing a GFCI outlet, your safety depends on careful steps to avoid electric shock. Before you begin, you need to make sure the power is off and use the right tools to check for live wires.
Turning Off Power at the Breaker
Before working on the outlet, locate your home’s electrical panel. Find the breaker that controls the circuit where you are installing the GFCI.
Flip the breaker switch to the OFF position to cut power to that area. Make sure you tell anyone in your home that you are working on this circuit to avoid someone turning it back on by mistake.
You can also use a breaker lock or a piece of tape on the switch as a reminder. Never start wiring if the power is still on, even if the outlet looks off.
Verifying No Power at the Outlet
After switching off the breaker, you need to double-check that no electricity is running to the outlet. Use a non-contact voltage tester or a multimeter for this step.
Hold the voltage tester close to the wires or the outlet slots. If it beeps or lights up, power is still present.
If that happens, do not proceed; double-check the breaker or call a professional. Testing the outlet ensures you won’t get shocked while wiring the GFCI.
Electrical Safety Best Practices
While working, always use tools with insulated handles. Wear rubber-soled shoes and avoid standing on wet floors.
Keep your workspace dry and well-lit. Follow the wiring diagram carefully, and never touch bare wires.
If you are unsure about wire connections, label them before disconnecting. After installation, test the GFCI using its built-in test button to confirm it works correctly.
Regularly check your GFCI outlets to make sure they provide ongoing safety.
Step-by-Step Installation Guide
You will start by safely taking out the old outlet and identifying the important wires. Next, you connect the wires to the right terminals on the GFCI outlet.
Finally, you mount and secure the new outlet to finish the job neatly and safely.
Removing the Old Outlet
First, turn off the power to the outlet at your circuit breaker. Use a voltage tester to make sure no electricity is running to the outlet before you touch anything.
Remove the outlet cover by unscrewing it. Then, unscrew the outlet itself from the electrical box and gently pull it out.
Take note of how the wires are connected to the outlet. You might want to take a picture for reference.
Carefully disconnect the wires by loosening the terminal screws. If the wires are pushed into holes in the back, release them with a small tool or press the release tab if there is one.
Keep the wires separated and away from each other.
Identifying Line and Load Wires
Look closely at the wires in the box. The line wires bring power into the outlet.
The load wires carry power to other outlets downstream. You usually see a black (hot) wire, a white (neutral) wire, and a bare copper or green (ground) wire for each set.
The line wires come from the panel, and the load wires continue to other outlets. To be sure which wires are line and which are load, use a voltage tester.
The wires with power when the breaker is on are your line wires. Label these wires with tape so you do not mix them up when wiring your GFCI.
Connecting the GFCI Outlet
Start by connecting the line wires first. Attach the black line wire to the brass-colored line terminal and the white line wire to the silver-colored line terminal.
Tighten the screws firmly. If you have other outlets downstream, connect the load wires to the matching load terminals on the GFCI.
This will protect those outlets too. Make sure you do not mix line and load wires, or the GFCI won’t work properly.
Attach the ground wire to the green grounding screw on the GFCI. If your box is metal, connect a ground wire there too.
Double-check all connections are tight and the wires are secure under the terminal screws.
Mounting and Securing the New Outlet
Gently fold the wires back into the electrical box, making sure they do not get pinched or tangled. Align the GFCI outlet with the screw holes on the box.
Use the screws provided to mount the outlet securely. It should be flush with the wall, not loose or sticking out.
Next, snap or screw on the outlet cover plate. Finally, turn the power back on at the circuit breaker.
Test your new GFCI by pressing the test button to make sure it cuts power and then reset it with the reset button.
Testing and Troubleshooting
You need to make sure your GFCI outlet works right after installation. Testing the outlet helps confirm safety.
If there are problems, knowing how to reset it or fix common issues will save you time and keep your home safe.
Testing the GFCI Function
To test your GFCI outlet, first press the “Test” button on the front of the outlet. This should immediately cut off power to the outlet.
If the power does not shut off, the outlet is faulty and needs repair or replacement. After pressing the test button, press the “Reset” button to restore power.
You can double-check with a small device like a lamp or phone charger to see if the power stays on when reset. Testing your GFCI at least once a month helps find any problems before they become dangerous.
How to Reset a GFCI Outlet
If your GFCI outlet trips, meaning it shuts off, you can usually reset it yourself. First, unplug all devices from the outlet to avoid immediate tripping again.
Press the “Reset” button firmly until you hear a click. This will restore power.
If it doesn’t reset, you might have a problem with wiring or a ground fault. In that case, turn off power at the breaker and check the wiring or call an electrician.
If the outlet trips often, it might be overloaded or detecting a real safety issue, so don’t ignore frequent resets.
Troubleshooting Common Problems
If your GFCI outlet trips unexpectedly, it could be due to a few reasons:
Overload: Too many devices plugged in can cause trips. Try reducing the load.
Ground fault: Water or damaged wires can cause current leaks. Check for moisture or damaged cords.
Improper wiring: Sometimes the outlet might be wired incorrectly, causing it to trip or not work. If the outlet only works when a nearby light switch is on, wiring may be the cause.
Faulty outlet: If testing and resetting don’t work, the outlet might be bad and need replacement.
Use a plug-in tester or a multimeter to check wiring if you’re comfortable, or get a licensed electrician to inspect it.
Final Steps and Cleanup
After wiring your GFCI outlet, finish by safely restoring power and clearly marking the outlet. These steps help ensure your outlet works properly and stays easy to identify.
Restoring Power Safely
Before turning the breaker back on, double-check that all wire connections are secure. Make sure the outlet is mounted flush against the wall.
Loose wires can cause shorts or malfunctions. When everything is tight and in place, go to your circuit breaker and switch the power back on.
Once power is restored, test the GFCI outlet by pressing the Test button on the face of the outlet. This should immediately cut power to show the safety feature works.
Press the Reset button to restore power. If the outlet does not reset or the test button doesn’t work, turn off the breaker again and check your wiring.
Properly Labeling the Outlet
Labeling your GFCI outlet is important for safety and future maintenance. Use a permanent marker or label sticker to mark the outlet as “GFCI Protected.”
Place the label on the outlet cover plate or inside the electrical panel next to the breaker. Clear labeling helps you and others know that this outlet will shut off automatically if a ground fault occurs.
Make sure the label is visible but does not block the buttons or outlet slots.
Maintenance and Tips
Keeping your GFCI outlet working well is important for safety. You need to check it often and know what signs show it might be failing.
Routine Testing Recommendations
Test your GFCI outlet once a month. Press the “Test” button to make sure it cuts the power.
If the power does not go off, the GFCI is not working properly and might need repair or replacement. After testing, press the “Reset” button to restore power.
If it doesn’t reset, the outlet could be damaged. Always turn off the main power before working on the outlet or calling an electrician.
Signs a GFCI Outlet Needs Replacement
Look for these signs to know if your GFCI outlet needs replacing:
- The “Reset” button won’t stay in.
- The outlet does not cut power when you press the test button.
- You notice burn marks, crackling sounds, or a burning smell.
- The outlet feels hot to the touch when in use.
- The outlet trips frequently without a clear cause.
If you see any of these, replace the GFCI outlet soon. Faulty GFCI outlets can fail to protect you from electrical shocks.
Frequently Asked Questions
You will learn how to wire a GFCI outlet in different rooms and handle various wiring situations. The answers cover using the right wires, what to do when there’s no ground wire, and how to tell line from load wiring.
What are the steps to properly wire a GFCI outlet in a bathroom?
First, turn off power at the breaker. Remove the old outlet and identify the line wires that bring power in.
Connect the line wires to the GFCI’s line terminals. If there are load wires for other outlets, connect them on the load terminals.
Secure the outlet back and turn power on to test it.
Can you guide me through installing a GFCI outlet in the kitchen?
Start by turning off the power and removing the old outlet. Find the line wires and connect them to the GFCI’s line side.
If you have other outlets on the same circuit, hook these up to the load terminals. Use outlet boxes rated for kitchen use, and test the GFCI with its test button when finished.
What’s the correct way to connect a GFCI outlet with four wires?
Usually, two wires are for power coming in (line), and two are for power going out (load) to other outlets. Identify which is which carefully.
Connect the incoming power to the line terminals. Connect the outgoing wires to the load terminals.
This protects the GFCI and the other outlets on the circuit.
How should I install a GFCI outlet if there’s no ground wire available?
You can still install a GFCI without a ground wire. It protects against ground faults by detecting current differences.
Connect the hot and neutral wires to the line terminals as usual. Mark the outlet with “No Equipment Ground” to alert others of the missing ground connection.
What is the difference between line and load wiring on a GFCI outlet?
The line terminals connect to the power source coming from your breaker. The load terminals connect to other outlets downstream from the GFCI.
Power flows through the line terminals first. The load terminals provide power to outlets that need GFCI protection.
Is it possible to install a GFCI outlet with just two wires, and if so, how?
Yes. When you have only one hot and one neutral wire, connect them to the line terminals on the GFCI.
This setup protects only that outlet. You won’t have protection for other outlets because there are no load wires to connect.