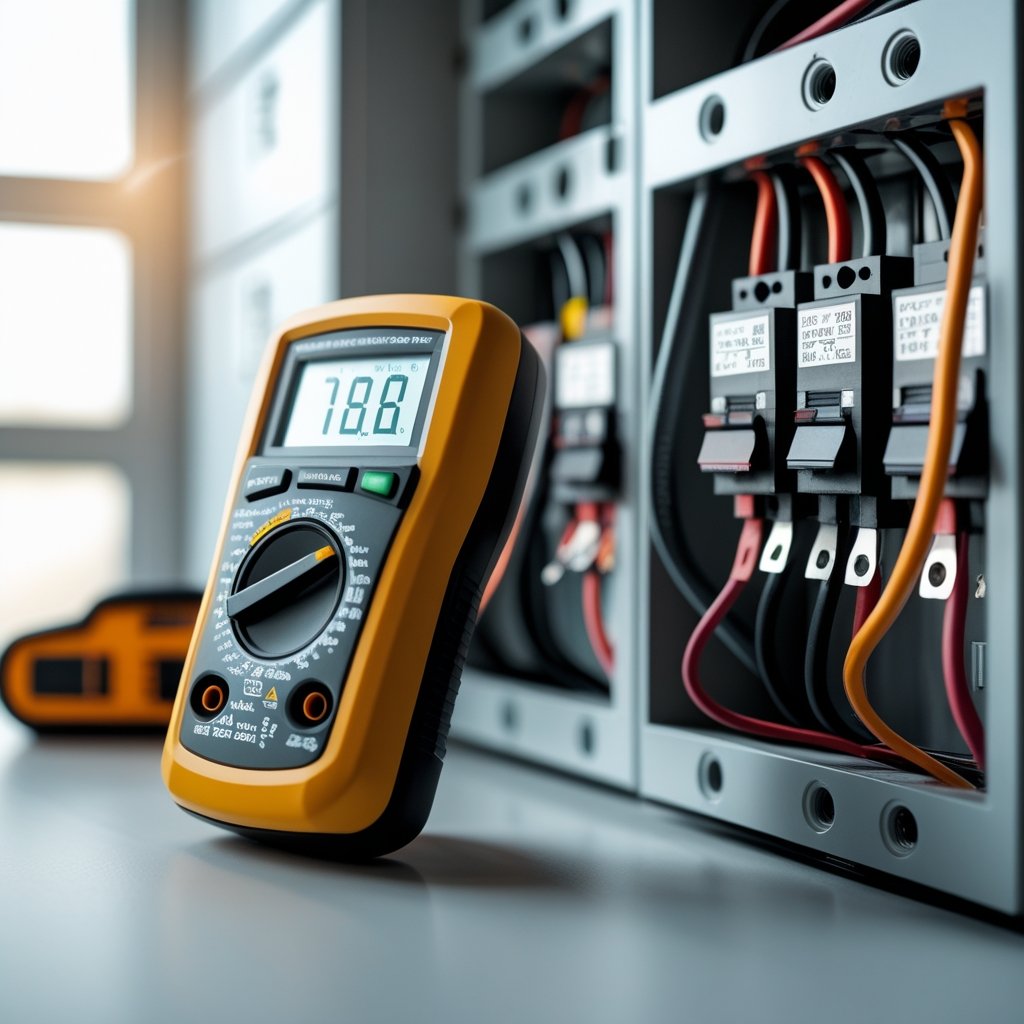
If you want to check if your circuit breaker is working correctly, using a multimeter is a simple and reliable way to do it. You can test the breaker by measuring the voltage on its terminals to see if it’s allowing power to flow properly.
This can help you find out if the breaker needs to be replaced or if something else is causing electrical issues. Knowing how to use a multimeter for this task saves you time and keeps you safe.
You don’t need to be an expert electrician to do it. By following a few easy steps, you can check your circuit breaker’s health right from your home.
Understanding Circuit Breakers
Circuit breakers protect your home’s electrical system by stopping the flow of electricity when something goes wrong. They come in different types and can fail for various reasons.
You need to follow careful safety steps when you work with them.
Types of Circuit Breakers
There are several common types of circuit breakers you may find in your home.
- Standard Circuit Breakers: These protect a single circuit and trip when overloaded.
- Ground Fault Circuit Interrupters (GFCI): These trip when they detect a small electrical leak, protecting against shocks.
- Arc Fault Circuit Interrupters (AFCI): These detect dangerous electrical arcs that could start a fire.
- Double-Pole Breakers: These control 240-volt appliances by breaking two circuits at once.
Knowing your breaker type helps you test and understand its purpose.
Common Reasons for Circuit Breaker Failure
Circuit breakers can fail due to many issues. One common cause is wear and tear over time.
Breakers may also fail if they trip frequently because of overloaded circuits or short circuits. Other reasons include:
- Loose connections inside the breaker panel.
- Corrosion or damage from moisture.
- Manufacturing defects or poor quality.
- Using a breaker not rated for your system.
If your breaker trips often or won’t reset, it could be faulty and might need testing with a multimeter or replacement.
Safety Precautions When Working With Breakers
Working with circuit breakers involves risks because you’re handling electricity. Always follow safety steps to protect yourself.
Before you start:
- Turn off the main power switch.
- Use insulated tools.
Wear rubber-soled shoes and avoid standing on wet surfaces. Only test a breaker if you know how to use a multimeter safely.
If unsure, call a licensed electrician. Never touch live wires or metal parts in the breaker panel.
Always double-check that the power is off before starting any work.
Gathering Tools and Equipment
To check a circuit breaker with a multimeter, you need the right tools and safety gear. Having everything prepared helps you work safely and get accurate results.
Choosing the Right Multimeter
You will need a digital multimeter that can measure voltage, current, and resistance. Look for one with a clear display and easy-to-use controls.
A multimeter with an auto-ranging feature can make testing simpler by selecting the correct measurement range automatically. Ensure your multimeter can measure both AC and DC voltage.
Since circuit breakers work with AC power, this is necessary. Check that the leads and probes are in good condition and rated for your home’s voltage, usually 120V or 240V.
A multimeter that meets safety standards like CAT III or CAT IV is best for electrical panel work.
Essential Safety Gear
Safety is key when working with electricity. Wear insulated gloves rated for electrical work to reduce the risk of shock.
Safety glasses should protect your eyes from sparks or debris. Use shoes or boots with rubber soles for extra insulation.
Keep your hands dry and avoid standing on wet surfaces. Having a flashlight handy can help you see inside the breaker panel clearly if the lighting is poor.
Additional Handy Tools
Besides the multimeter and safety gear, some extra tools can help. A non-contact voltage tester lets you quickly check if wires or breakers are live without touching them.
A screwdriver set with insulated handles is handy for opening the panel and removing screws safely. You might also want electrical tape for securing wires or marking tested circuits.
Keep a notebook or phone nearby to record your readings and notes as you go. This helps in tracking what you find during testing.
Preparing for the Test
Before you begin testing a circuit breaker with a multimeter, it is important to work safely and know how to access the breaker panel. You also need to check the breakers for visible signs of damage.
Taking these steps helps you avoid injury and makes the testing process smoother.
Powering Down Safely
Start by turning off the main power switch in your breaker panel. This cuts electricity to the entire house and reduces the risk of electric shock while you work.
Use a flashlight if the lights go out after powering down. Make sure no electricity is flowing before touching wires.
Wear insulated gloves for extra protection. If you’re unsure or new to this, get help from a professional electrician.
Accessing the Breaker Panel
Locate your circuit breaker panel. It’s usually found in basements, garages, or utility rooms.
Use a screwdriver to remove the panel cover carefully. Keep track of the screws so they don’t get lost.
Make sure the cover is completely off so you have clear access to the breakers and wiring inside the box. Avoid touching any metal parts or wires inside the panel until you confirm power is off.
Visual Inspection of Circuit Breakers
Look over each breaker carefully before testing. Check for cracks, burn marks, or melted plastic on the breaker switches.
Also, check if any breakers feel loose or don’t click firmly into place. If you see any signs of damage or wear, note which breakers need further attention or replacement.
This step helps you find obvious problems before using the multimeter.
How to Check Circuit Breaker With Multimeter
To check your circuit breaker with a multimeter, you’ll prepare the tool properly, test for electrical continuity, and measure the AC voltage across the breaker. Each step helps you understand if the breaker is working or if it needs attention.
Setting Up Your Multimeter
First, make sure your multimeter is ready for testing. Turn the dial to the correct measurement type based on what you want to check.
For continuity, choose the continuity or resistance (ohm) setting. For voltage checks, set it to AC voltage (V~), usually around 200 volts.
Switch off power at the breaker panel to avoid shocks. Remove the breaker cover if needed to access the breaker terminals.
Have your probes clean and ready for a firm connection. Wear protective gear like gloves and use insulated tools.
Keep one hand away from the panel, if possible, to reduce risk.
Testing for Continuity
Testing continuity checks if the circuit breaker’s internal switch is connected properly. With the breaker off, set your multimeter to continuity mode.
Place one probe on the breaker’s input terminal and the other on the output terminal. If your multimeter beeps or shows a low resistance value, continuity exists, which means the switch inside the breaker is closed and working.
No beep or an infinite reading means the breaker is open or faulty. Test multiple breakers to compare results.
Consistently no continuity on any breaker points to a problem. Always turn off power before doing this test to stay safe.
Measuring AC Voltage Across the Breaker
This test shows if electricity flows through the breaker when it’s turned on. Set your multimeter to AC voltage mode.
Turn the breaker on before testing. Put one probe on the breaker’s line terminal (where power comes in) and the other probe on the load terminal (where power goes out).
A normal breaker will show voltage close to your system’s supply, usually around 120V or 240V. If the reading is zero or very low while the breaker is on, the breaker might be faulty and not passing current.
Also, check voltage between the breaker’s terminal and ground to ensure correct wiring. Always be extremely careful when measuring voltage.
Use one hand to hold the probe and keep your other hand clear to prevent accidental shock.
Interpreting Multimeter Readings
Understanding what your multimeter shows when testing a circuit breaker helps you determine if the breaker is working properly. Pay attention to voltage values, continuity, and resistance readings to spot normal operation or issues.
What a Good Breaker Reading Looks Like
When you test a circuit breaker with a multimeter set to measure voltage, a good breaker should show voltage close to your home’s electrical system, usually about 120 volts for a single-pole breaker and 200 to 240 volts for a double-pole breaker.
If you test for continuity or resistance with the breaker turned off, the multimeter should show very low resistance or nearly zero ohms, meaning the circuit is closed and electricity can flow.
In short:
- Voltage reading near expected level (120V or 240V)
- Continuity test shows low resistance (closed circuit)
These readings mean the breaker is allowing power to pass through as it should.
Identifying Signs of a Bad Breaker
A breaker that is failing may show unusual or inconsistent multimeter readings. If the voltage reads significantly lower than expected or fluctuates a lot, that could mean the breaker is weak or damaged.
When testing continuity, a bad breaker might show high resistance or no continuity even when the breaker is in the ON position. This means it may be broken inside and not allowing electricity through.
Look out for these signs with your multimeter:
- Voltage much lower than 120V or 240V
- No continuity when breaker is ON
- Fluctuating or unstable readings during measurement
These signs point to a breaker that may trip often or fail to protect your circuit.
When to Replace the Breaker
You should replace the breaker if your multimeter tests confirm it can’t hold voltage or maintain continuity properly. Also, if the breaker trips frequently without clear cause or feels warm to the touch, replacement is a good idea.
Use the table below as a quick guide:
| Multimeter Result | Action |
|---|---|
| Voltage at expected level | Keep breaker in use |
| Low or no voltage output | Consider replacing breaker |
| No continuity when ON | Replace breaker |
| Repeated tripping noticed | Replace breaker |
Troubleshooting Common Issues
When testing your circuit breaker with a multimeter, you might face some unexpected problems. These can range from the breaker tripping without a clear reason to getting strange readings on your device.
Knowing what to look for and how to handle these helps you work safely and get accurate results.
Breaker Trips With No Load
If your circuit breaker trips even when nothing is plugged in, it often means there is a problem inside the breaker or the wiring. This can happen if there’s a short circuit or if the breaker is old and worn out.
Start by resetting the breaker. If it trips again right away, check the wiring for loose connections or damaged insulation.
If you don’t find any issues there, the breaker itself might be faulty and need replacing. Some breakers have a built-in safety feature to trip if they detect small faults.
If you’re unsure, use your multimeter to test for continuity or voltage to check where power might be leaking.
Inconsistent Readings
Getting inconsistent readings on your multimeter can be frustrating. This usually happens if the meter is not set correctly or if the contacts aren’t making good connections.
Make sure your multimeter is set to the right mode, such as AC voltage or continuity. Clean the probes and hold them firmly on the breaker terminals to get a steady reading.
If your readings jump around, check your meter’s battery. A low battery can cause erratic results.
Test the multimeter on a known working circuit to make sure it is working properly before testing the breaker again.
Multimeter Safety Tips
Using a multimeter safely is very important when working with electrical panels. Always turn off the main power before opening the breaker box to avoid shocks.
Wear insulated gloves and use tools with rubber handles. Keep one hand behind your back to reduce the chance of current passing through your body.
Before testing, inspect your multimeter for damage. Make sure the probes and leads are in good condition.
Never touch the metal tips while measuring live circuits. This protects you from electrical hazards.
Maintaining Circuit Breakers for Longevity
Check your circuit breakers often and clean them carefully. Know when to ask for professional help.
Routine Inspection Tips
Look at your breaker panel every few months. Check for scorch marks, rust, or a burning smell.
These signs can mean there is trouble. Make sure breakers reset properly if they trip.
Frequent tripping can signal overloaded circuits or faulty breakers. Test breakers with a multimeter to see if they open and close circuits correctly.
Check the panel area for moisture or dust. It should be dry and clean.
Moisture or dirt can cause corrosion and shorten breaker life.
Proper Cleaning Methods
Always turn off the main power before cleaning the breaker panel. Use a soft, dry cloth to wipe away dust.
Avoid using water or chemical cleaners inside the panel. If you see dust inside, gently blow it out with compressed air.
Do not use a vacuum inside the panel. Vacuums can cause static electricity.
Check screw terminals for looseness. Gently tighten them if you feel comfortable.
Loose connections cause heat buildup and could lead to breaker failure.
When to Call a Professional
Call an electrician if breakers trip often or do not reset. Get help if you find damage like cracked breakers or burning smells.
Do not try to fix wiring problems or replace breakers unless you are trained. Electrical panels carry high voltage and can be dangerous.
A professional can test the electrical system safely and find problems you might miss.
Frequently Asked Questions
You can test a circuit breaker’s condition by checking continuity, amperage, or voltage with a multimeter.
How can I test a circuit breaker for continuity using a multimeter?
Set your multimeter to the continuity setting. Remove power to the breaker, then touch the probes to the breaker terminals.
If the meter beeps or shows low resistance, the breaker is continuous and not open.
What steps should I follow to test a circuit breaker before installation?
Turn off all power sources. Use a multimeter on resistance mode to check for shorts between terminals.
Make sure the breaker is not tripped. Test continuity between the input and output terminals.
What are the symptoms of a bad circuit breaker?
You might notice frequent tripping, a burning smell, or buzzing sounds from the breaker. Flickering lights or no power in some outlets can also signal a faulty breaker.
How do I check the amperage of a circuit breaker with a multimeter?
Use a clamp meter or set your multimeter to the correct current range. Clamp the meter around the wire connected to the breaker.
The multimeter will display the current flowing through the breaker.
What’s the best way to test a 12v circuit breaker using a multimeter?
Set the multimeter to DC voltage mode. Connect the multimeter probes to the breaker’s input and output while the circuit is powered.
Check for voltage drop. If there is none, the breaker works properly.
Can you guide me on testing a circuit breaker when it’s not connected to the panel?
Remove the breaker. Set your multimeter to continuity mode.
Test between the breaker’s terminals. If your multimeter shows continuity, the breaker is likely functional outside the panel.