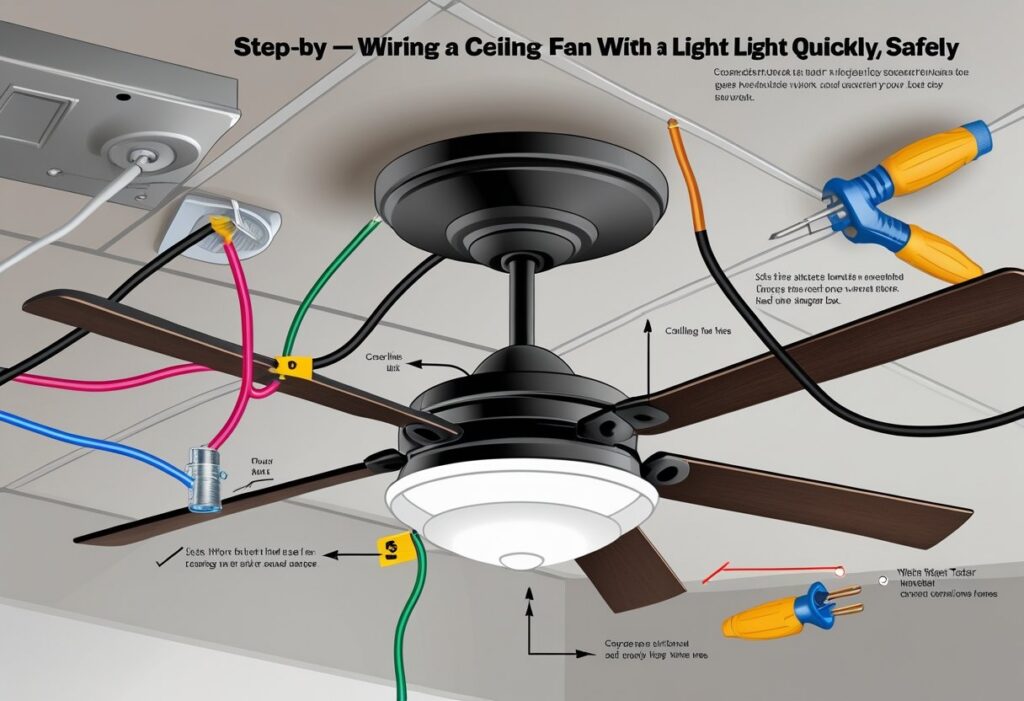
Wiring a ceiling fan with a light might seem tricky, but you can do it with some basic tools and careful steps. To wire a ceiling fan with a light, connect the fan’s black and blue wires to the black (hot) ceiling wire, the white wires together, and attach the green or bare copper ground wire to the ceiling’s grounding wire.
This setup lets you control the fan and light separately, usually with two switches or a remote. Knowing how to handle the wiring safely is key.
Turn off the power before starting and double-check all connections. Once you understand the wire colors and parts, the process becomes smoother.
Essential Tools and Materials
To wire a ceiling fan with a light, gather a few key tools and supplies. You’ll want equipment that ensures safety and helps you connect everything correctly.
Picking the right fan with the features you want is just as important as having the tools and electrical parts on hand.
Required Tools for Installation
You will need some basic tools to handle the wiring and mounting. Make sure you have:
- Screwdrivers (both flat and Phillips head) for screws.
- Wire cutters/strippers to prepare wires without damaging them.
- Voltage tester to check if the power is off before wiring.
- Pliers to twist wires together securely.
- Electrical tape to insulate connections.
Having these tools ready will make the process smoother and safer. Always double-check that power is off at the breaker before starting any work to avoid shocks.
Electrical Supplies Checklist
Gather these parts before wiring:
- Ceiling fan installation kit (may include blades, motor, brackets, hardware).
- Wire connectors (wire nuts) to join wires safely.
- Electrical junction box if your ceiling doesn’t already have one.
- Grounding wire to prevent electrical shock.
- Wire nuts sized for the thickness of your wires.
Using the right supplies helps you build a strong electrical connection that lasts. If you’re unsure about wire sizes or compatibility, check your fan’s manual or ask an electrician.
Choosing the Right Ceiling Fan with Light
Look for a fan that fits your room size and lighting needs. Fans usually come with options like built-in LED lights or sockets for bulbs.
Check for:
- Motor power, to ensure adequate airflow.
- Light kit compatibility if you want dimmable or smart lighting.
- Remote control or wall switch options for easy use.
Some fans come with clear instructions and all the hardware you need right in the box.
Understanding Electrical Wiring Basics
Wiring a ceiling fan with a light involves working with several wires that control power and functions separately. You’ll need to know which wires do what and the colors they usually come in.
Taking the right steps makes your installation smooth and safe. Always follow safety guidelines when handling electricity.
How Ceiling Fan Wiring Works
Your ceiling fan wiring usually includes three main wires: one for the fan motor, one for the light, and one for power. The fan and light often have separate switches, so each needs a dedicated wire.
A typical setup has a hot wire supplying power, a neutral wire, and a ground wire for safety. You connect the fan’s motor and light wires to the hot and neutral wires in your ceiling box so each part works independently.
Sometimes, there’s a separate wire just for the light. This lets you control the fan and light separately with a dual switch or a remote.
Identifying Wiring Colors and Functions
Wiring colors help you know which wire does what. Here’s a quick guide:
| Wire Color | Function |
|---|---|
| Black | Hot wire (power for fan) |
| Blue | Hot wire for light |
| White | Neutral wire |
| Green/Bare | Ground wire (safety) |
The black wire usually powers the fan motor. The blue wire is often used for the light kit.
White wires complete the circuit, returning power safely to the panel. The green or bare copper wire connects to your home’s ground system to reduce shock risks.
Knowing these colors helps you make the correct connections.
Safety Precautions Before You Begin
Always turn off the power at the circuit breaker before you start working. Test the wires with a voltage tester to make sure no electricity is running.
Use a sturdy ladder and wear insulated gloves if you have them. Make sure your tools have insulated handles to reduce shock risk.
Never attempt wiring if you feel unsure. If any wires look damaged or the box is not secure, call an electrician for help.
Preparing for Installation
Before you start wiring your ceiling fan with a light, handle the basics carefully. This includes cutting off power, removing any old light fixture, and installing the right electrical box designed to hold a fan.
Turning Off Power at the Breaker
Safety is your top priority. Begin by switching off the power to the room where you’ll install the fan.
Find your home’s circuit breaker panel. Look for the breaker labeled for the room or area you’ll work in.
Flip the switch to the “off” position. This stops electricity flow and helps prevent shocks.
Use a voltage tester to double-check no power is running to the wires. If you don’t have one, make sure the lights in the room won’t turn on, which means power is off.
Removing the Old Fixture
If you have a light or fan in place already, you’ll need to take it down. First, check again that the power is off to avoid any accidents.
Unscrew the fixture’s cover or shade. Then, remove the screws or bolts securing the fixture to the ceiling or mounting bracket.
Carefully pull the fixture away from the ceiling. You’ll see wires connected with wire nuts.
Twist off these nuts and gently separate the wires. Set the old fixture aside, but keep all hardware in case you need it later.
Installing a Ceiling Fan-Rated Electrical Box
A ceiling fan needs a stronger box than a regular light to hold its weight and motion. Make sure you use a box labeled “ceiling fan rated.”
Locate the ceiling joists by tapping or using a stud finder. This is where you’ll attach the box for strong support.
Secure the box firmly with screws into the joists. It must be stable and not move when you apply force.
Check local codes to ensure your setup is safe and follows guidelines.
Wiring a Ceiling Fan with a Built-In Light
This part focuses on how to connect the ground wires, wire the fan motor and light kit, and securely attach wire connectors. You’ll make sure each wire is matched correctly to keep your fan and light working safely.
Connecting the Ground Wires
Start by locating the green or bare copper ground wire from your ceiling box. Your ceiling fan will also have a green or bare ground wire.
Connect these two ground wires together. If your fan has an extra ground wire inside the mounting bracket, attach it too.
Use a wire connector to twist all ground wires together. This connection helps prevent electrical faults.
Make sure no bare wire is exposed once the connector is on. Tuck the wires neatly into the ceiling box so they don’t get pinched when you mount the fan.
Wiring the Fan Motor
Find the fan motor’s black (or sometimes blue for the light) and white wires. The black wire usually supplies power to the fan motor.
Connect the fan’s black wire to the black wire coming from the ceiling. The white wire from the fan connects to the white (neutral) wire in the ceiling.
If your fan has a blue wire, this is for the light. Set this aside for now and handle it in the light kit section.
Make sure your wires are secure in their connectors before moving on.
Wiring the Light Kit
The light kit will have a blue or black wire and a white wire. Connect the blue wire from the light kit to the blue wire from the fan motor.
Then, connect the white wire from the light kit to the white neutral wire bundle. If your ceiling box doesn’t have a separate blue wire, the blue from the fan usually connects to the ceiling’s black wire if controlled by the same switch.
Use your wire connectors tightly. This ensures your light will turn on and off correctly.
Attaching Wire Connectors Securely
Wire connectors hold your connections safe and tight. To attach them properly, hold the wires together straight with no loose ends.
Twist the connector clockwise until it feels snug. Give a gentle tug on each wire to confirm it does not pull loose.
Wrap electrical tape around wire connectors in high-vibration areas like ceiling fans to add extra security.
Loose connections can cause flickering, shorts, or even fire hazards. Keeping your connectors tight keeps your ceiling fan and light safe to use.
Wiring a Ceiling Fan and Light to Separate Switches
To control your ceiling fan and its light separately, you need to understand the wiring layout and how to connect each to its own switch. This setup requires identifying wires correctly and making safe, secure connections for both fan and light circuits.
Wiring Diagram Overview
A wiring diagram helps you see how power flows from your breaker to the switches, then to the fan and light. Usually, you’ll find a hot wire bringing power in, neutral wires completing the circuit, and ground wires for safety.
For separate switches, the hot wire splits to feed two switches, one for the fan and one for the light. From each switch, a wire runs to the fan’s motor and light socket separately.
The neutral wires for both fan and light should be connected together at the ceiling box. This setup makes sure turning one switch does not affect the other.
Identifying the Switch Wires
Before connecting, identify the wires running from your ceiling box to each switch. Usually, you will have:
- Black wires: These are typically “hot” and connect to the fan motor.
- Red wires: Often used as the hot wire for the light.
- White wires: Neutrals, which connect to the neutral wires in the ceiling.
- Green or bare copper wires: These are ground wires for safety.
Use a voltage tester to confirm which wires carry power. Label each wire to avoid confusion.
Connecting Fan and Light to Independent Switches
Start by turning off power to the circuit at the breaker. Connect the hot feed wire from your power source to the input terminals of both switches.
The output wire from one switch goes to the fan motor’s black wire. The other switch’s output connects to the light’s hot wire (usually red).
Connect all neutral wires together in the junction box, then connect all ground wires to the box and fixture grounding points.
Make sure each connection is tight and secure. Use wire nuts and electrical tape if needed.
After wiring, turn power back on and test each switch to confirm the fan and light work independently.
Mounting and Assembling the Ceiling Fan
To get your ceiling fan ready, you need to attach the mount securely, fix the blades and light kit, and check the balance of the fan blades. These steps make sure your fan hangs safely and runs smoothly.
Securing the Fan Bracket
Start by firmly attaching the mounting bracket to the ceiling box. Use the screws that came with your fan kit—they are designed to fit the bracket and ceiling box properly.
Make sure the bracket is tight and doesn’t move when you pull on it. The ceiling box must be rated to hold the fan’s weight.
If it isn’t, replace it with a fan-rated box before proceeding. This prevents any safety risks from a falling fan.
Check that all screws and bolts are fully tightened. A loose bracket can cause the fan to wobble or fall, so double-check before moving to the next step.
Attaching Fan Blades and Light Fixture
Attach each blade to the motor housing using the provided screws. Tighten the screws evenly to keep the blades secure.
Connect the light fixture if your fan has one. Match wire colors—black or blue for power, white for neutral—and secure all connections with wire nuts.
Mount the light fixture to the fan as shown in the manual. Make sure it fits snugly and all screws are tight.
Balancing the Fan Blades
Balancing the blades helps your fan run quietly and prevents damage. Turn the fan on low speed and check for wobbling.
If you see wobble, use a blade balancing kit or switch the position of two blades. Attach small weights to the top of a blade if needed.
Make small adjustments and test the fan after each change.
Testing and Troubleshooting
After wiring your ceiling fan with light, check that everything works safely and correctly. Turn the power back on and test the fan and light functions.
Make sure all wiring connections are secure. If you run into problems, try common fixes before calling a professional.
Restoring Power and Testing the Fan
Keep the power off at the breaker while you finish wiring. Restore power by flipping the breaker switch back on.
Turn on the wall switch to see if both the fan and light work. Use any remote or pull chains to test fan speeds and light brightness.
Watch for unusual noises or wobbling, which can mean a loose part or imbalance. If the light doesn’t work, check the switch and bulb.
Test each function separately to find any issues quickly.
Troubleshooting Common Issues
If the fan or light doesn’t turn on, check for faulty wiring or a loose connection. Make sure the wall switch works and the breaker hasn’t tripped.
If the fan runs but the light doesn’t, replace the bulb first. If that doesn’t work, check the socket.
If the fan wobbles or makes noise, tighten all screws and balance the blades. Reversing the fan’s direction switch can help fix airflow problems.
Checking for Secure Connections
Loose or corroded wires can stop your ceiling fan or light from working. Turn the power off before inspecting the wiring in the ceiling box.
Check that wire nuts are tight and grounding wires are secure. Look for frayed or damaged wires.
Clean any corrosion or replace damaged parts. Use a voltage tester or multimeter to confirm power flows through each wire.
Proper connections help your fan and light work safely.
Finishing Touches and Maintenance Tips
After wiring your ceiling fan with a light, finish the installation and keep it running well. Put on the fan cover, clean regularly, and follow simple steps to help your fan last longer.
Installing the Fan Cover
Place the fan cover or canopy over the mounting bracket. Make sure it fits snugly to hide the wiring and hardware.
Secure the cover with the provided screws. Don’t overtighten, as this can crack the cover or strip the screws.
Check that the cover is level and flush against the ceiling. This keeps dust out of the motor area.
If your fan has a light kit, make sure all bulbs are installed and the lens or shade is secure before turning the power back on.
Cleaning and Maintenance Suggestions
Dust your fan blades and light fixture every few weeks. This keeps airflow and light output strong.
Use a soft cloth or microfiber duster. Avoid wet wipes or harsh chemicals that can damage the finish.
Check blade screws occasionally and tighten any that feel loose. This keeps the fan stable and reduces noise.
If your fan has a remote or light kit, change the batteries when controls slow down. This keeps everything responsive.
Tips for Long-Term Performance
Run your fan regularly to keep the motor in good shape. This helps lubricate moving parts and prevents rust.
Balance the blades if the fan wobbles. Use a blade balancing kit or adjust blade positions to reduce vibration.
Turn off the fan and light at the circuit breaker before repairs or deep cleaning. This protects you from electrical shock.
Check for unusual noises or flickering lights. Inspect wiring connections or consult a professional if needed.
Frequently Asked Questions
Wiring a ceiling fan with a light depends on your switches and control options. You might use one switch, two switches, or a remote control.
Some setups use extra wires like a red wire or special switches like 3-way switches.
How can I connect a ceiling fan with a light using just one switch?
To use one switch for both the fan and light, connect the fan’s black (fan) and blue (light) wires to the black wire from the ceiling. Connect the white wires together, and ground wires as well.
The switch will turn both the fan and light on and off at the same time.
What’s the correct way to wire a ceiling fan with a light and a remote control?
For a remote, the fan usually has a receiver in the mounting bracket. Connect power wires from the ceiling to the receiver’s input wires.
Connect the receiver output wires to the fan and light wires inside the fan. Keep the ceiling switch on to give constant power to the remote.
Can you guide me through wiring a ceiling fan with light and two switches?
With two switches, one controls the fan and the other controls the light. The ceiling must have a black, red, and white wire.
Connect the black ceiling wire to the fan’s black wire. Connect the red ceiling wire to the light’s blue wire.
Connect all white wires together, and connect the ground wires.
What should I do if there’s a red wire from the ceiling but my fan doesn’t have one?
The red wire is usually for separate light or fan control. If your fan only has black and blue wires, cap off the red wire safely.
Use wire nuts to cover the red wire. Connect the black and blue wires according to your control method.
How do you wire a ceiling fan with light on a 3-way switch?
With a 3-way switch, you can control the fan or light from two places. This setup needs special traveler wires between the switches.
Usually, the fan light and motor are wired together on the switched hot wire. Keep the neutral and ground wires connected as usual.
What are some common mistakes to avoid when wiring a ceiling fan with a light?
Always turn off power at the breaker before you start.
Don’t mix up the fan and light wires. Mixing them up can cause the fan to stop working correctly.
Avoid loose connections. Use wire nuts properly to prevent shorts.
Connect ground wires for safety.
Check your local code. Consult professionals if you have a complicated wiring setup.