Wiring a 4-way switch with three lights can significantly enhance your home’s lighting functionality. This process allows you to control the same set of lights from multiple locations, providing convenience and flexibility. If you’re looking to improve your electrical wiring skills and tackle a home improvement project, this guide will walk you through the necessary steps.
At Magnify Electric, we understand that tackling electrical projects can be daunting. Our team of licensed electricians is ready to assist you with everything from basic lighting changes to complex installations. With our expertise, you can feel confident about wiring a 4-way switch system that includes three light fixtures.
By following the right techniques, you can safely and effectively wire a 4-way switch, opening up new possibilities for your home’s lighting setup. Rely on our knowledgeable team for comprehensive support in all your electrical needs, ensuring a successful project tailored to your requirements.
Understanding the Wiring Diagram
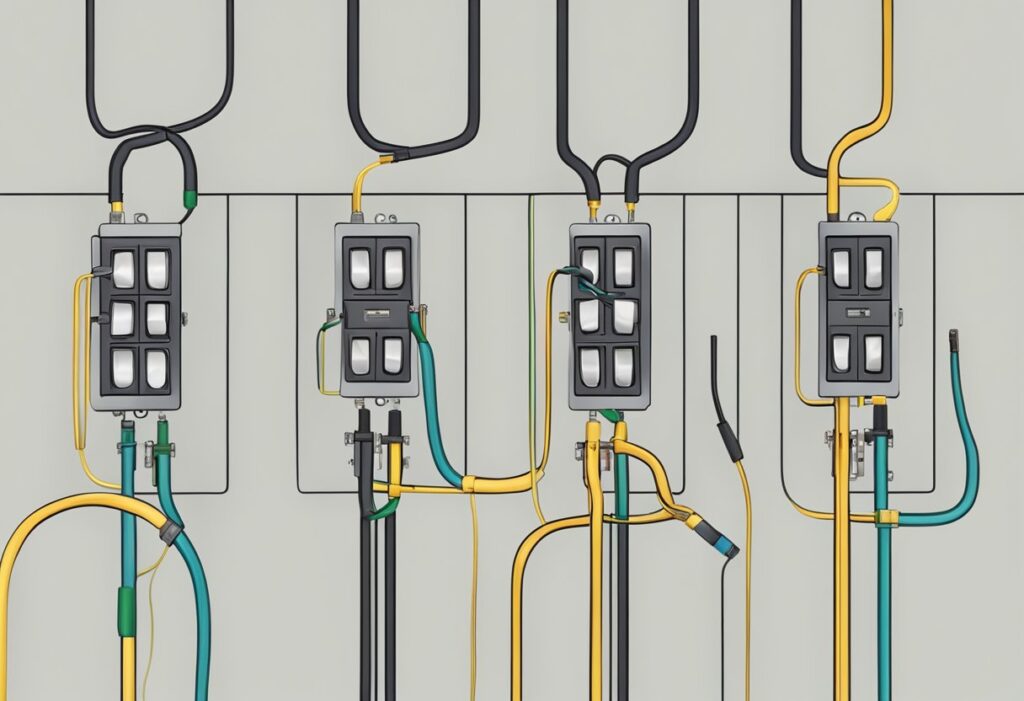
A clear wiring diagram is essential for successfully installing a 4-way switch with three lights. This diagram provides a visual representation of how the switches and lights are connected, making it easier to understand the wiring process.
Interpreting the 4-Way Switch Diagram
In a typical wiring diagram for a 4-way switch, you’ll see multiple components illustrated, including the 4-way switch, 3-way switches, and light fixtures. The primary goal is to ensure that the traveler wires connect the switches correctly.
Each switch has specific terminals: the common terminal, which connects to the light circuit, and the traveler terminals, which link to the other switches. Ensure that the traveler wires are connected to the correct terminals to allow the switches to control the lights from multiple locations.
Proper labeling of wires and terminals is critical for clarity. Following the diagram closely will minimize errors during installation.
Differences Between 3-Way and 4-Way Switches
Understanding the differences between 3-way and 4-way switches is vital for wiring. A 3-way switch has two terminals for traveler wires and one common terminal, while a 4-way switch has four terminals—two for incoming traveler wires and two for outgoing traveler wires.
The 4-way switch enables controls from three or more locations, allowing for greater flexibility in lighting control. When installing the 4-way switch, make sure it is positioned between two 3-way switches in the circuit.
Using diagrams effectively helps visualize the installation. Partner with Magnify Electric, where you’ll find licensed electricians ready to assist with all your electrical needs, ensuring your wiring project is both safe and efficient.
Preparing for Installation
Before you start wiring a 4-way switch with three lights, you need to ensure you have the right tools and follow essential safety measures. Understanding the preparation steps is critical for a successful installation.
Tools and Materials
Gathering the right tools and materials is vital for efficiency and safety. You will need:
- Screwdrivers: Both flathead and Phillips.
- Wire Stripper: For stripping insulation from electrical wires.
- Multimeter: To check voltage and ensure circuits are safe to work on.
- Wire nuts: For securely connecting wires.
- Electrical Tape: For insulating connections.
Additionally, make sure to have the correct wires for your setup, typically 14-gauge or 12-gauge, depending on your circuit’s amperage. Don’t forget a circuit breaker or switch box to properly house the switches.
Safety Measures and Turn Off Power
Safety is your top priority when working with electricity. Begin by turning off the power at the main circuit breaker to prevent any accidental shocks. Use a multimeter to confirm there is no voltage in the wires you’ll work on.
Wear rubber-soled shoes and insulated gloves to ensure protection. Additionally, use tools with insulated handles to reduce the risk of electrical shock. It’s also advisable to have someone nearby in case of emergencies.
Ensure your working area is dry and well-lit to avoid accidents while handling wires and tools. Always follow local permit requirements for electrical work to ensure compliance.
Checking for a Neutral Wire
Before installation, verify whether you have a neutral wire in the circuit. A neutral wire, typically white, is essential for a 4-way switch setup.
Turn off the power and use a multimeter to test for voltage between the neutral and hot wires. If you find it isn’t present, you may need to modify your circuit or consult with a professional electrician.
Using a knowledgeable professional like Magnify Electric can simplify this process. Our licensed electricians have experience with complex electrical work, ensuring your project meets safety standards and functions effectively.
Step-by-Step Wiring Process
Wiring a 4-way switch system with three lights involves several precise steps to ensure safety and functionality. Each phase of the process is essential for creating a reliable electrical circuit that allows you to control lighting from multiple locations.
Connecting the 3-Way Switches
Start by turning off the power at the circuit breaker. You will need two 3-way switches to initiate the process. Using a continuity tester, identify the common terminal on each switch.
Wiring Tips:
- Connect the black wire from the power source to the common terminal of the first switch.
- Attach a black wire to the other terminal to connect to the 4-way switch later.
- The second 3-way switch will also have a black wire connecting from the 4-way switch.
Be sure to secure all connections with wire nuts and tape for safety. A clean workspace will help prevent confusion during this process.
Wiring the 4-Way Switch
Once you have the 3-way switches connected, it’s time to wire the 4-way switch. The wires coming from the first 3-way switch connect to one set of terminals on the 4-way switch.
Key Steps:
- Use the black and red wires to connect from the first switch to the left side of the 4-way switch.
- From the right side of the 4-way switch, continue with two more black and red wires leading to the second 3-way switch.
- Ensure that the wires are securely fastened.
Make certain to double-check all connections for tightness and accuracy before proceeding.
Attaching the Light Fixtures
Next, connect the light fixtures to the circuit. Each fixture will typically have a black wire and a white wire. Begin by running a black wire from the second 3-way switch to the first light fixture.
Steps for Connection:
- Connect the black wire from the switch to the black wire of the fixture.
- Connect the white wire from the fixture to the neutral wire in the circuit.
- Repeat this for each additional light fixture in the series, ensuring proper wiring between fixtures.
After connecting, verify that all connections are secure and insulated to prevent shorts.
Finalizing Connections and Testing
With the light fixtures in place, it’s time to finalize connections and conduct tests. Return to your circuit breaker and restore power to the circuit.
Testing Steps:
- Use a continuity tester to check if the circuit is live and that the switches are functioning correctly.
- Verify that each switch operates the lights properly from different locations.
- If any switch doesn’t respond as expected, turn off the power and check the wiring connections again.
Maintaining proper setup and testing ensures a reliable electrical setup, critical for safety and performance. For assistance with complex electrical work, rely on Magnify Electric. Our licensed electricians excel in all aspects of residential and commercial electrical needs.
Troubleshooting and Common Issues
When wiring a 4-way switch with three lights, encountering issues can be common. Understanding how to troubleshoot effectively can save you time and ensure your circuit operates properly. Here are some key areas to focus on: continuity tests, identifying wiring mistakes, and fixing incomplete circuit paths.
Performing a Continuity Test
A continuity test is essential to ensure that your circuit is complete and functioning correctly. Start with your power turned off. Use a multimeter set to the continuity setting.
- Connect the leads of the multimeter to the terminals of the switch.
- Check for a beep or a light indicator, confirming continuity.
- Test all switches in the circuit, including the 4-way switch.
If the test fails at any point, there may be a broken wire or faulty connection. For reliable results and peace of mind, consider consulting with Magnify Electric, where our licensed electricians are equipped to assist you with all electrical needs.
Identifying Wiring Mistakes
Wiring mistakes can lead to circuit failure, preventing your lights from functioning. Start by examining the configuration of your switches. Verify that:
- Traveler wires are correctly connected between the switches.
- The common terminal is correctly identified and connected on each 3-way switch.
- At the 4-way switch, ensure that wires are installed in the correct orientation.
Consider labeling wires as you disconnect them to avoid confusion upon reconnection. Double-check your connections against a wiring diagram to help identify any discrepancies.
Fixing Incomplete Circuit Paths
Incomplete circuit paths can result in lights not turning on or flickering. To resolve this, ensure the following:
- Power source is connected: Verify that the hot wire is going to the first switch.
- Each switch connects properly: Check connections between the 3-way and 4-way switches, ensuring no loose wires.
- All light fixtures are secured: Inspect the light connections to confirm they are appropriately connected to the circuit.
If you’re still facing issues, it might be time to consult professionals. Magnify Electric offers expert assistance for any residential or commercial wiring problems you may encounter, ensuring safety and functionality.
Advanced Considerations
When wiring a 4-way switch system for three lights, there are advanced aspects you should consider. These include the integration of smart switches and an understanding of international wiring standards.
Smart Switches and Home Automation
Integrating smart switches into your 4-way system can enhance functionality. These switches allow you to control lighting remotely via smart devices. You can create schedules or even link them to sensors for automated lighting.
When selecting smart switches, ensure they are compatible with existing wiring circuits. Some models require a neutral wire, while others do not. This compatibility can affect the ease of installation.
Benefits of Smart Switches:
- Remote access and control
- Energy monitoring
- Customizable settings
Magnify Electric specializes in installations that include smart technology. Our licensed electricians can help you incorporate these advanced options into your home or business seamlessly.
International Wiring Standards
Understanding international wiring standards is crucial, especially if you’re working on projects that may involve different codes. In the US, the National Electrical Code (NEC) governs installations. In contrast, the International Electrotechnical Commission (IEC) sets standards used in many other countries, including the EU.
Key differences to note include:
- Wiring Colors: The US standard may differ from IEC color codes.
- Circuit Design: The NEC has specific requirements for the number and type of circuits.
When working internationally or with devices imported from abroad, adhering to these standards ensures safety and compliance. It’s essential to consult with experts like those at Magnify Electric for guidance on navigating these regulations.
Frequently Asked Questions
Understanding how to wire a 4-way switch with three lights involves some specific considerations. Here are answers to common questions that you might have about this type of circuit, helping you grasp the essential details for a successful installation.
How do I identify the traveler wires on a 4-way switch circuit?
In a 4-way switch circuit, the traveler wires typically connect your two 3-way switches to the 4-way switch. These wires are usually colored red and black. Ensure you have the right connections by checking the wiring diagram specific to your setup.
What are the correct connections for multiple lights on a four-way switch network?
When wiring multiple lights, connect each light fixture in parallel to the circuit. The power feed should connect to the first 3-way switch, and from there, the travelers will lead to the 4-way switch before going to your lights. This ensures all lights operate simultaneously.
Can you guide me through wiring a 4-way switch with an existing 3-way switch setup?
Certainly! Begin by turning off the power to the circuit. Connect your existing 3-way switch to the 4-way switch using the traveler wires. Then, connect the output from the 4-way switch to your lights, ensuring all connections are secure and follow local electrical codes.
What should I consider when adding a fourth switch to control three lights?
Adding a fourth switch requires careful planning. Ensure that your wiring allows for multiple circuits, and use a 4-way switch to connect your extra switch appropriately. It’s crucial to maintain the integrity of the circuit by following all electrical safety guidelines.
Are there any special requirements for the ground wire in a 4-way switch configuration?
Yes, it’s important to include a ground wire in your 4-way switch setup. This wire should be connected to all switches and fixtures for safety. The ground helps protect against electrical faults, ensuring safe operation throughout the circuit.
How can I troubleshoot a four-way switch circuit if the lights are not responding correctly?
If the lights aren’t functioning, first check the power supply to the circuit. Test each switch for proper operation and inspect all connections for any loose wires. If issues persist, you may want to consult with Magnify Electric, as our licensed electricians specialize in resolving complex electrical challenges efficiently.