Installing dimmer switches for energy savings is a pretty straightforward home upgrade. You get more control over your lighting and might even lower your electricity bill. With the right dimmer and a careful installation, you can crank up the lights for tasks or turn them down when you just want a softer glow.
If you’re looking for a hands-on way to cut lighting costs, boost comfort, and maybe make your bulbs last longer, learning to install dimmer switches is a solid place to start. Most homes can handle the project as long as you match the dimmer to your bulbs and stick to basic safety rules.
A dimmer lets you set the mood in different rooms and at different times. Kitchens usually need bright light for cooking, but in bedrooms or dining rooms, a lower light level saves power and just feels more relaxed.
How Dimmers Reduce Power Use
A dimmer cuts the electricity sent to your light fixture, so the bulb gives off less light and usually uses less power. That’s why dimmers make sense in rooms where you don’t always need everything at full blast.
How much you save depends on your bulbs, the dimmer itself, and how low you like to keep the lights. You’ll see the biggest impact if you keep things dimmed most of the time.
When Dimming Actually Saves Energy
Dimming only saves energy if your fixture and bulbs are designed for it. With modern dimmable LEDs, the dimmer can reduce power draw as you lower the brightness.
Living rooms, hallways, bedrooms, dining spaces—dimmers really shine here. If you run lights at half brightness a lot, you might notice a difference on your electric bill after a while.
Limits of Energy Savings With Different Bulbs
Not all bulbs save the same amount when dimmed. Incandescent bulbs use less power when dimmed, but honestly, they’re still not as efficient as LEDs. CFLs? They’re tricky—many don’t dim well, and some just flicker or burn out early.
Dimmable LED bulbs usually give you the best mix of savings and smooth dimming. Still, you need the right match between bulb and dimmer, or you’ll get weird lighting or a lousy dimming range.
Check Compatibility Before You Start
A successful dimmer install starts with the right gear. Match your dimmer to the bulb load and the type of switch circuit you already have.
If you skip this, you could end up with flicker, buzzing, or a dimmer that just won’t get the lights low enough. Double-checking everything up front saves headaches later.
Matching the Device to LED, CFL, or Incandescent Loads
Check your bulb packaging or the fixture label for “dimmable.” Then pick a dimmer rated for that bulb type and the total wattage on the circuit.
LED-rated dimmers are best for most homes now. For incandescents, plenty of standard dimmers still work, but newer ones usually control more smoothly and don’t get as hot.
Single-Pole and Three-Way Setup Basics
A single-pole switch handles a light from one spot. A three-way setup controls the same light from two places—like both ends of a hallway.
Buy a dimmer that matches your circuit. A single-pole dimmer won’t work right on a three-way, and the wiring needs to fit what’s already in the wall.
Tools, Safety Steps, and Circuit Prep
Before messing with wires, gather your tools and make sure the circuit’s safe. A little prep makes the job easier and helps you avoid mistakes.
Most people can swap a switch if the wiring’s simple and there’s room in the box. If the box is packed or the wiring looks odd, it’s smart to pause and rethink before diving in.
Shutting Off Power and Confirming the Circuit Is Dead
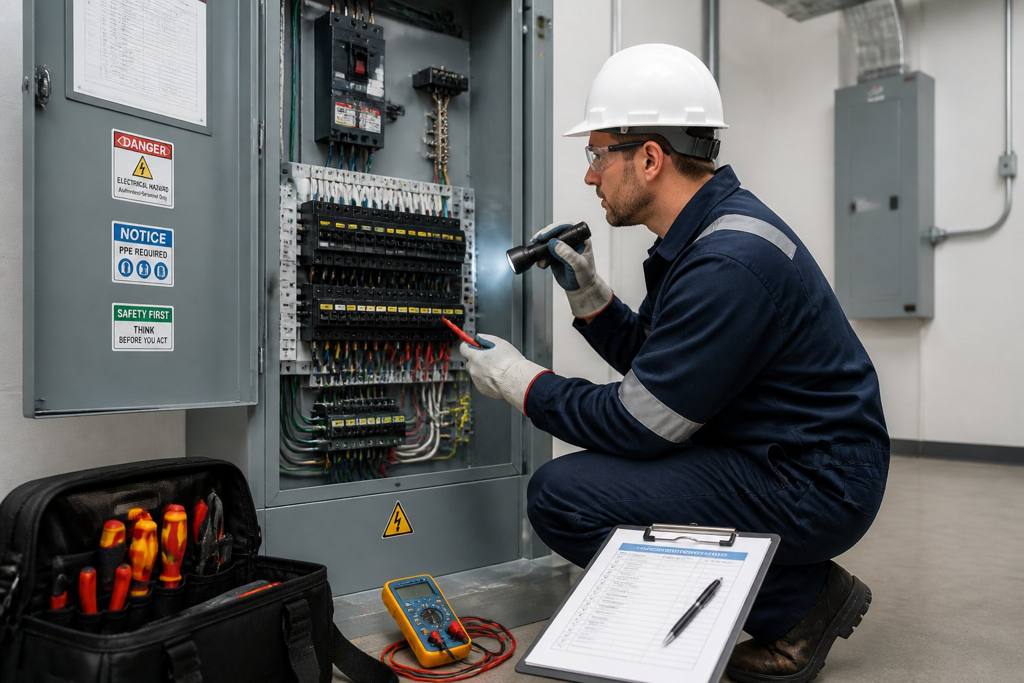
Flip off the breaker that runs the switch—not just the wall switch. Then test the light and use a non-contact voltage tester at the switch box.
Don’t trust wire colors alone. In older homes, color codes can be all over the place, so always check for dead power before touching anything.
What to Have Ready Before Opening the Wall Box
You’ll want a screwdriver, voltage tester, wire stripper, flashlight, and the new dimmer. A little piece of tape or a label helps you mark wires as you pull out the old switch.
If the box is deep or crowded, a phone camera is handy. I usually snap a quick photo before disconnecting anything—it’s saved me more than once when putting things back together.
Step-by-Step Switch Replacement
Swapping in a dimmer is usually pretty direct if your wiring’s straightforward and the box isn’t a mess. Take your time, keep the wires organized, and check every connection before you close things up.
Removing the Old Device and Identifying Wires
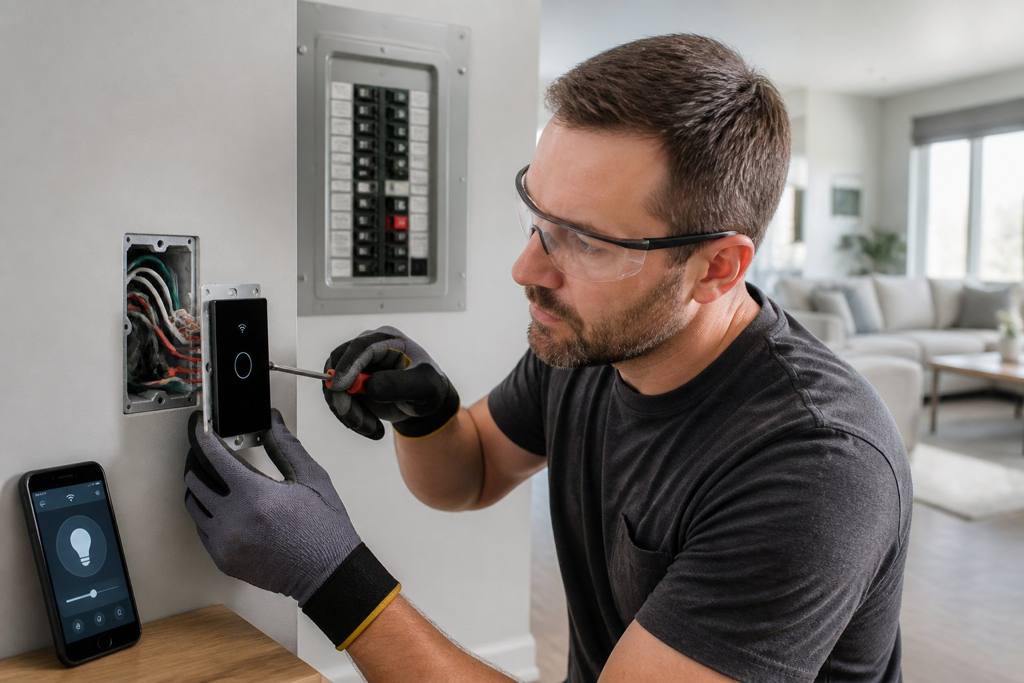
Pop off the faceplate, unscrew the old switch, and gently pull it out. Take a good look at how the wires are attached before you disconnect anything.
Make note of which wire is line, load, ground, and any traveler wires if it’s a three-way. If the old switch uses backstab connections, move those wires to the screw terminals on the new dimmer if you can.
Connecting the New Control and Securing the Faceplate
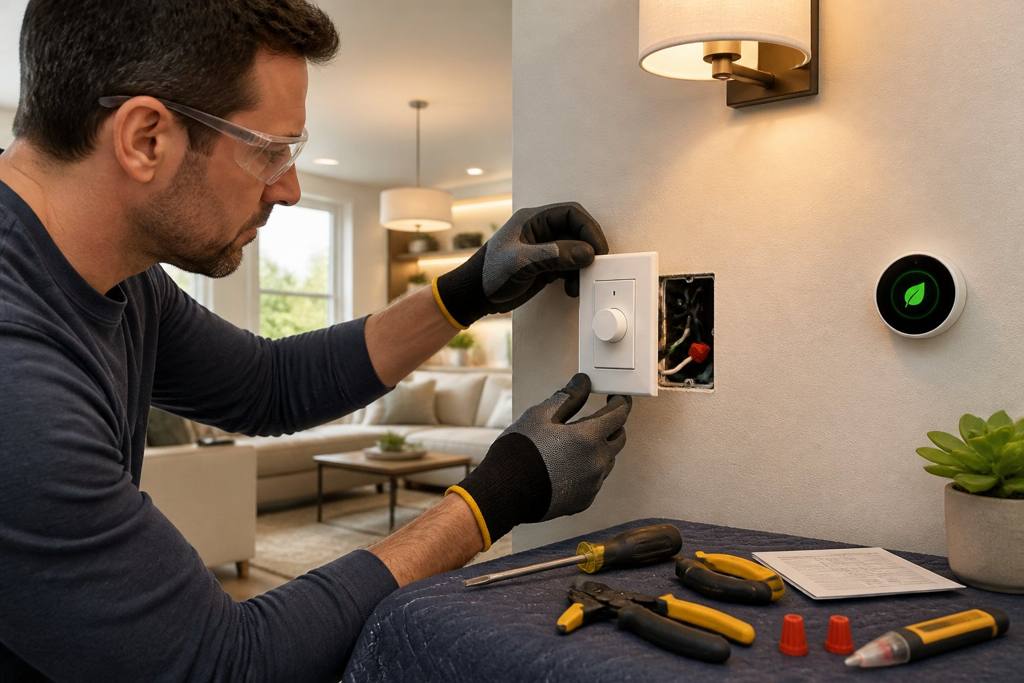
Wire up the new dimmer just like the instructions show. Tighten the connections well—a loose wire can cause heat, noise, or flaky lighting.
Fold the wires in neatly, mount the dimmer, and put the faceplate back on. The dimmer should sit straight and not pinch anything behind it.
Restoring Power and Testing Smooth Dimming
Turn the breaker back on and try the switch at full brightness first. Then move the slider, knob, or touch control up and down to see how the light reacts.
If you get flicker, jumps, or the light stays too bright at the lowest setting, check the compatibility. A good setup should feel smooth and steady across the whole dimming range.
Common Problems and Performance Fixes
Most dimmer problems come from mismatched dimmers and bulbs or wiring hiccups in the box. Tweaking a few things usually fixes it—no need to replace the whole fixture.
Noise, limited dimming, or heat from the switch are all red flags. Catch these early and you’ll save yourself bigger headaches later.
Flickering, Buzzing, and Limited Dimming Range
Flickering usually means your dimmer isn’t right for the bulb type. Buzzing can happen too if LEDs and dimmers aren’t matched.
Try a dimmer made for LEDs and make sure your bulbs are labeled dimmable. If the lights only dim a little before shutting off, you might need to adjust the minimum setting or swap out bulbs for ones that work better.
Overloaded Boxes, Neutral Wire Issues, and Heat
A crowded switch box can make installation tough and trap heat. That’s something to watch for if you’re adding a bigger smart dimmer or dealing with thick wire bundles.
Some newer dimmers need a neutral wire, but older boxes might not have one. If the wiring doesn’t fit the dimmer’s needs, or the device gets hot when in use, it’s time to call a licensed electrician.
When Professional Help Makes Sense
DIY dimmer swaps are fine for many homes, but some jobs really do need an expert. If you’re adding smart controls, updating old wiring, or dealing with a stubborn circuit, bringing in a pro can save you time and hassle.
That’s especially true if it’s part of a bigger lighting or electrical upgrade. An electrician can look at the whole setup, not just one switch.
Smart Lighting Upgrades and Larger Electrical Improvements
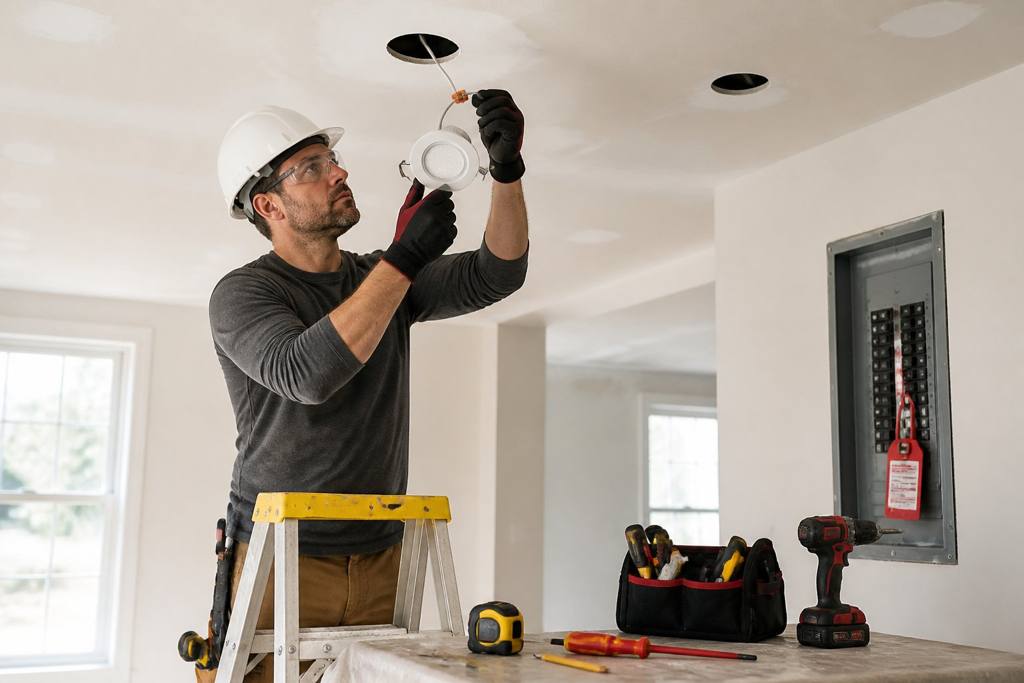
Smart dimmers, automated lighting, and room-by-room controls often come with extra wiring, app setup, or hub pairing. Bigger upgrades might mean panel work, new outlets, or a new lighting layout.
Magnify Electric helps homeowners and businesses across Central Texas with licensed electrical work, including automated lighting, ceiling fans, light switches, Lutron smart home systems, EV charging outlets and wall chargers, outdoor lighting, outlet services, recessed lighting, TV installation, surge protectors, wiring, lighting installs, panel upgrades, troubleshooting, generator hookups, smoke and CO₂ detectors, and pretty much any general electrical improvements you can think of.
Why Central Texas Property Owners Choose Magnify Electric
If you want one team for both quick fixes and bigger projects, Magnify Electric is a solid choice for Residential and Commercial Electrical Work. Their licensed electricians handle everything from simple fixture swaps to full upgrades, commercial lighting, safety inspections, smart home setups, and emergency repairs.
They cover Spicewood, Austin, Bee Cave, Lakeway, Dripping Springs, Georgetown, Leander, Round Rock, Kyle, Cedar Park, Liberty Hill, Westlake, The Hills, Briarcliff, Horseshoe Bay, Sunset Valley, Hutto, and pretty much all of Central Texas.
Frequently Asked Questions
Can I put a dimmer on any light switch, or are there compatibility limits?
You can swap many standard switches for a dimmer, but not every circuit will work. The bulb type, switch type, and total wattage all need to match the dimmer’s rating.
How do I wire a dimmer switch if I only have two wires in the box?
A basic single-pole dimmer usually just uses the two switch wires plus ground, if you have it. Wire colors can vary, so always double-check which is line and which is load before hooking things up.
What’s the right way to install a dimmer switch when there are three or four wires present?
If you see three or four wires, you’re probably dealing with a three-way circuit or older wiring. You’ll need a dimmer made for that setup, and you have to ID the traveler, common, and ground wires correctly.
How do I install a dimmer switch on a 3-way lighting circuit?
You’ll need a 3-way dimmer rated for your circuit and compatible with the other switch. Turn off the breaker, label your wires before removing anything, and follow the wiring diagram from the manufacturer.
Do dimmer switches work properly with LED or other energy-saving bulbs, and what should I look for?
Yep, plenty of dimmer switches work well with dimmable LEDs, and that’s usually your best bet for energy savings. Make sure you get both a dimmable bulb and an LED-rated dimmer to avoid flicker, buzzing, and weak low-end dimming.
About how much does it typically cost to hire an electrician to install a dimmer switch?
Honestly, it depends—location, the state of your wiring, and whether it’s a single-pole or three-way switch all play a part. If you’re just swapping out an old switch for a dimmer, it’s usually on the cheaper side. But if you’ve got older wiring, want smart features, or your electrical box is already packed, expect the price to climb.