

Electrician in Austin & Central Texas
Family-owned since 2012. We find the cause of the problem, lay out your options in plain language, and give you clear, flat-rate pricing on any repairs so you can decide. No pressure, just honest electrical work done to code.
- 2012
- Family-owned since
- TECL
- 29321 licensed
- Flat
- rate, priced upfront
- 20+
- Central Texas cities
This month: service fees go to The Pink Fund
Through October, every service-call fee we collect is donated to The Pink Fund to help breast cancer patients cover living expenses during treatment. Book any service in October to take part.
Residential and light commercial electrical work
From a single flickering circuit to a full panel upgrade, we handle the electrical work that keeps Central Texas homes and businesses safe and up to code. Here is where homeowners call us most.
Commercial electrical
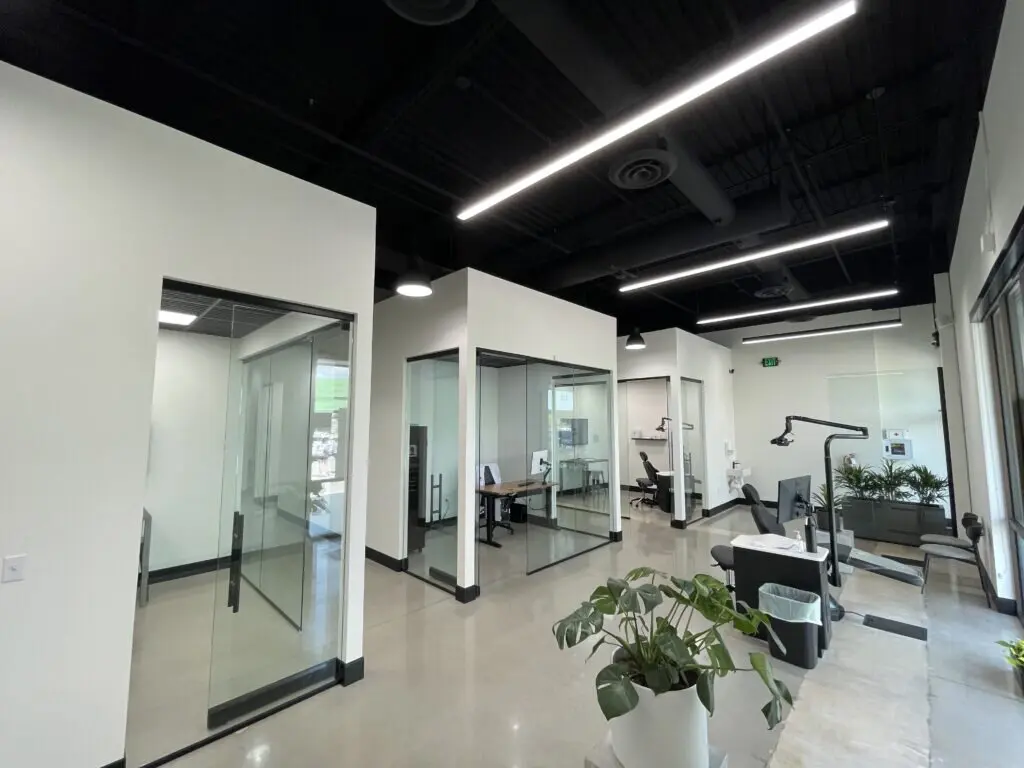
We keep offices, clinics and retail spaces running with licensed commercial crews, flat-rate pricing and work scheduled around your hours.
- Service & repair
- Medical & dental installations
- Office & retail
- LED lighting retrofit
14+ yrs
family-owned
The family behind Magnify Electric
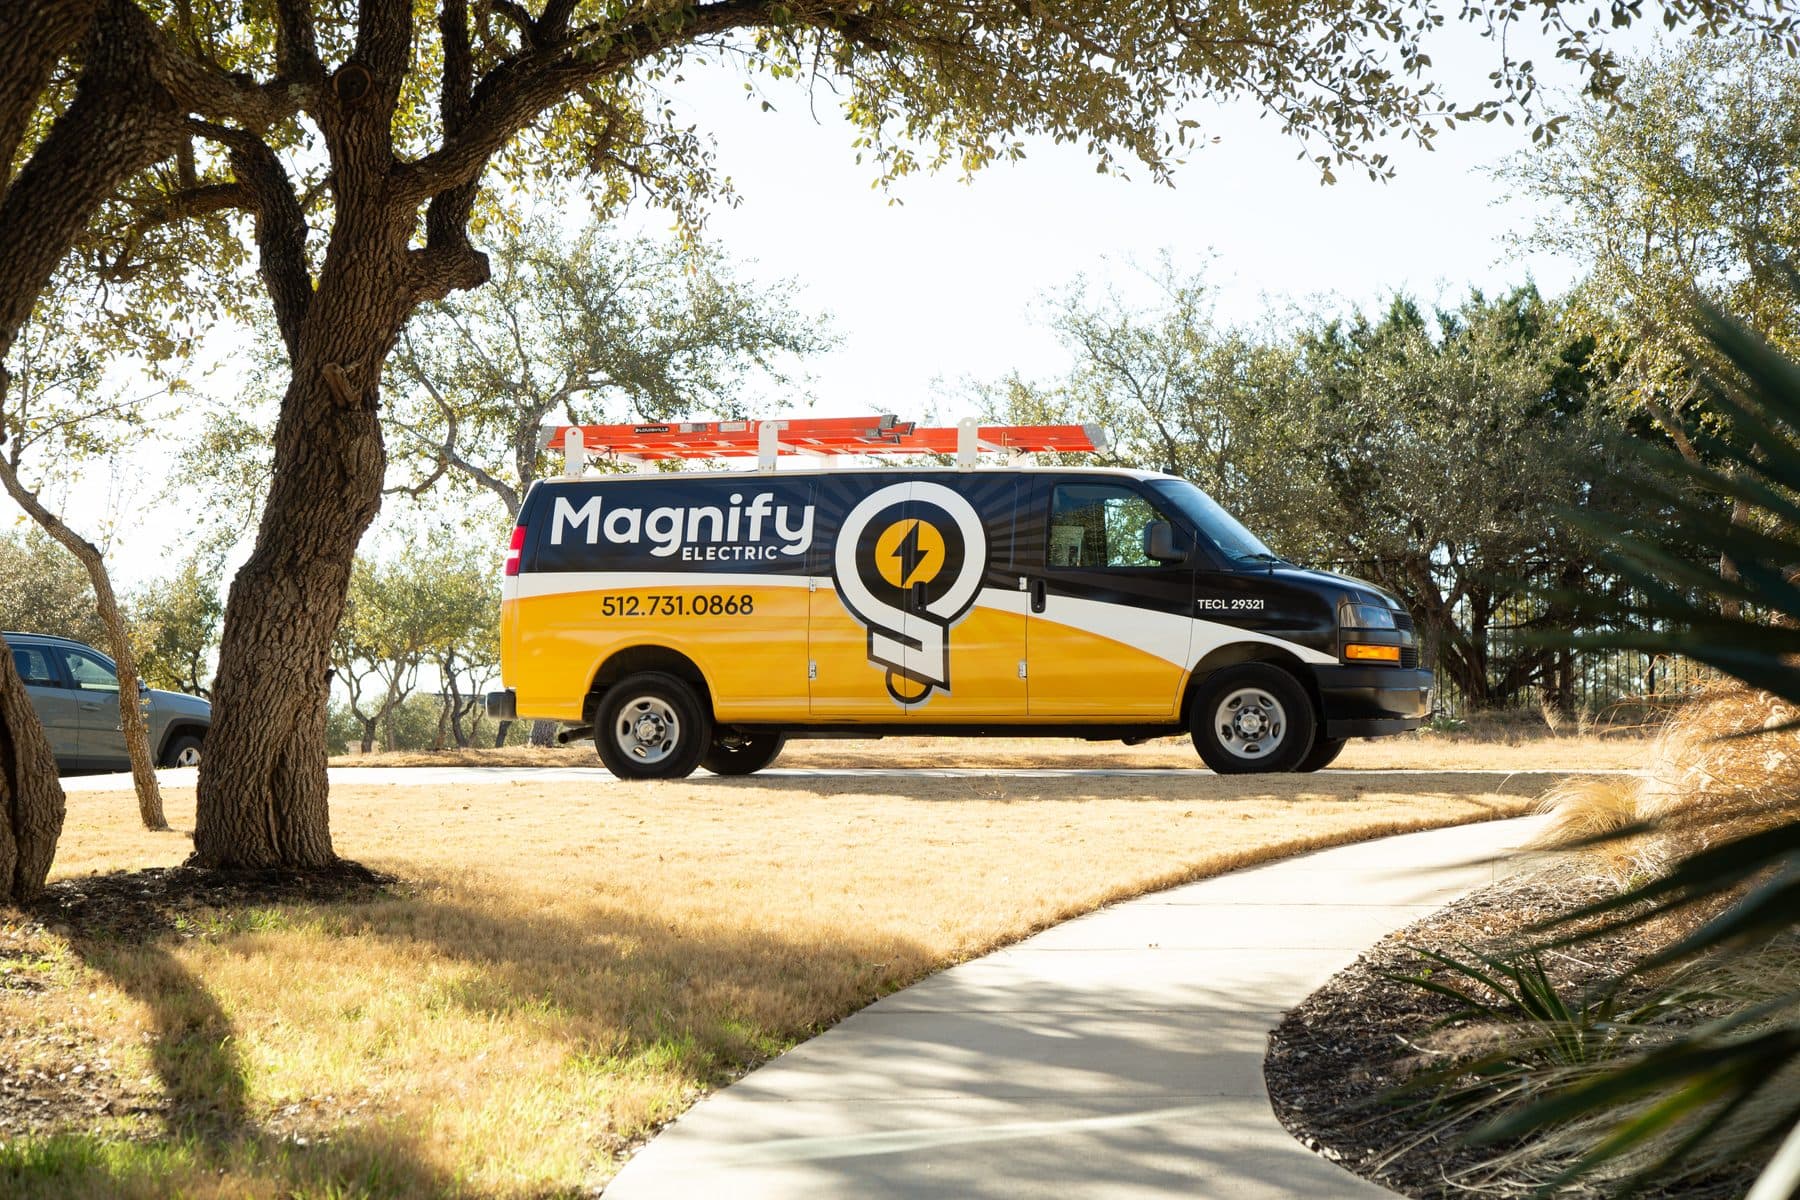
We have been a family-owned company since 2012, built on a simple idea: treat every home like it belongs to someone we care about, and settle the price honestly before we touch a wire.
Our name comes from a verse that shapes how we show up for our neighbors, our crew and our community across Central Texas.
“Magnify the Lord with me, and let us exalt His name together.”
That shows up in the work and in the community. This October, every service-call fee we collect goes to The Pink Fund to support breast cancer patients.
See how we give back →Honest electrical work, clearly priced
These are the standards we hold on every job, residential or commercial, from a quick repair to a full service upgrade.
Flat-rate pricing you approve
You get clear, flat-rate pricing on any repairs and decide whether to move forward. The number you approve is the number you pay, never billed by the hour.
Licensed, trained electricians
Master-licensed and TDLR-regulated (TECL 29321, Master 269417). Every job is done to current National Electrical Code.
We trace the real cause
We find the real cause of the problem instead of guessing or upselling, then lay out your repair options in plain language.
Clear troubleshooting
For a problem of unknown cause we charge a straightforward troubleshooting fee to pinpoint it, then give you optional, flat-rate pricing for any repairs.
Free 54-point safety inspection
Every visit includes a complimentary 54-point electrical safety inspection so you know what is sound and what needs attention.
Family-owned since 2012
A local Spicewood family company, not a national franchise. You work with the same crew that stands behind the job.
Membership that keeps your home ahead of problems
The electrical systems that fail are usually the ones no one checks. Members get a yearly safety review, front-of-line scheduling and real savings, so small issues get caught before they become emergencies.
What members get
- Annual 54-point safety inspection and panel maintenance
- Priority scheduling through a dedicated member hotline
- 15% off all services, parts and labor
- Annual smoke-detector inspection and battery replacement
- Lifetime warranty on our work while your membership is active
- Transferable to the new owner when you sell your home
Five steps, no surprises
The same straightforward process on every job, whether it is a dead outlet or a full panel upgrade.
- 01
Book your visit
Call us or schedule online. We confirm a time window and keep you posted with text updates.
- 02
We find the problem
For an unknown issue, a licensed electrician troubleshoots to find the cause for a diagnostic fee, and runs a complimentary 54-point safety inspection.
- 03
Flat-rate options
You get clear, flat-rate pricing for any repairs or upgrades and decide what to do. No hourly surprises.
- 04
We do the work
Clean, code-compliant work by our own crew, done right the first time.
- 05
Verify and back it
We test the result, walk you through what we did, and stand behind the work in writing.
Real jobs across Central Texas
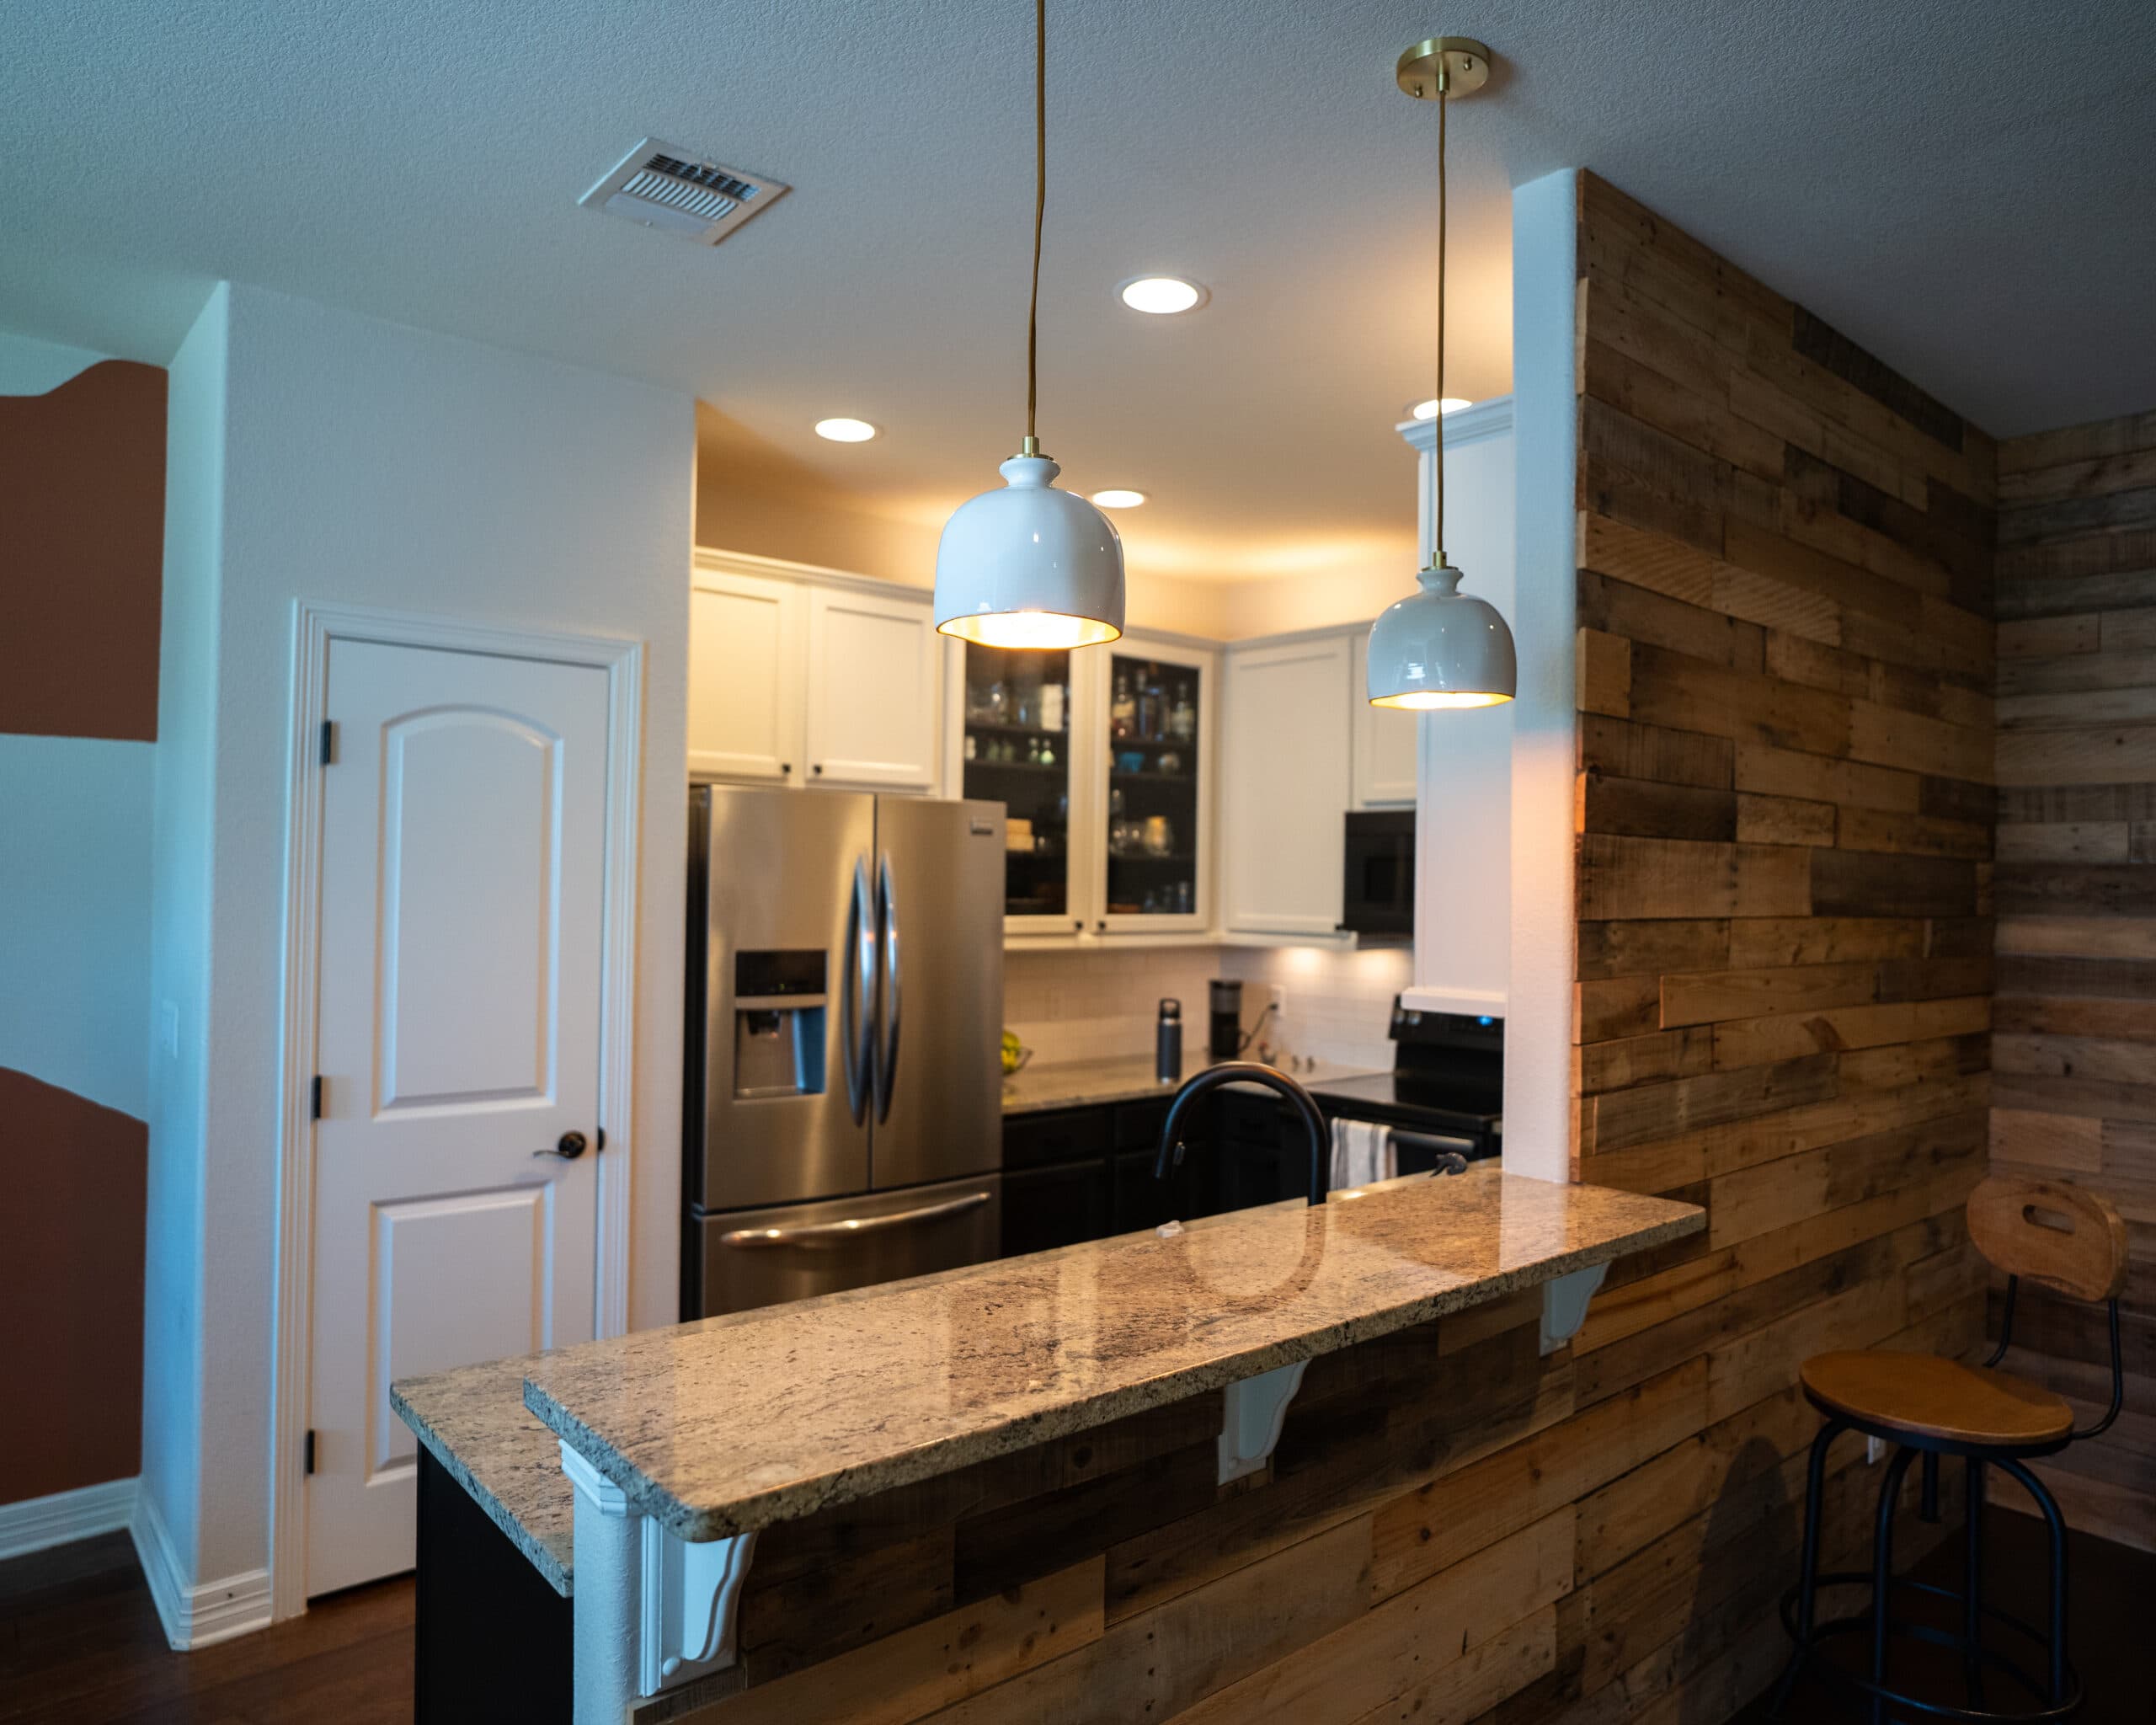
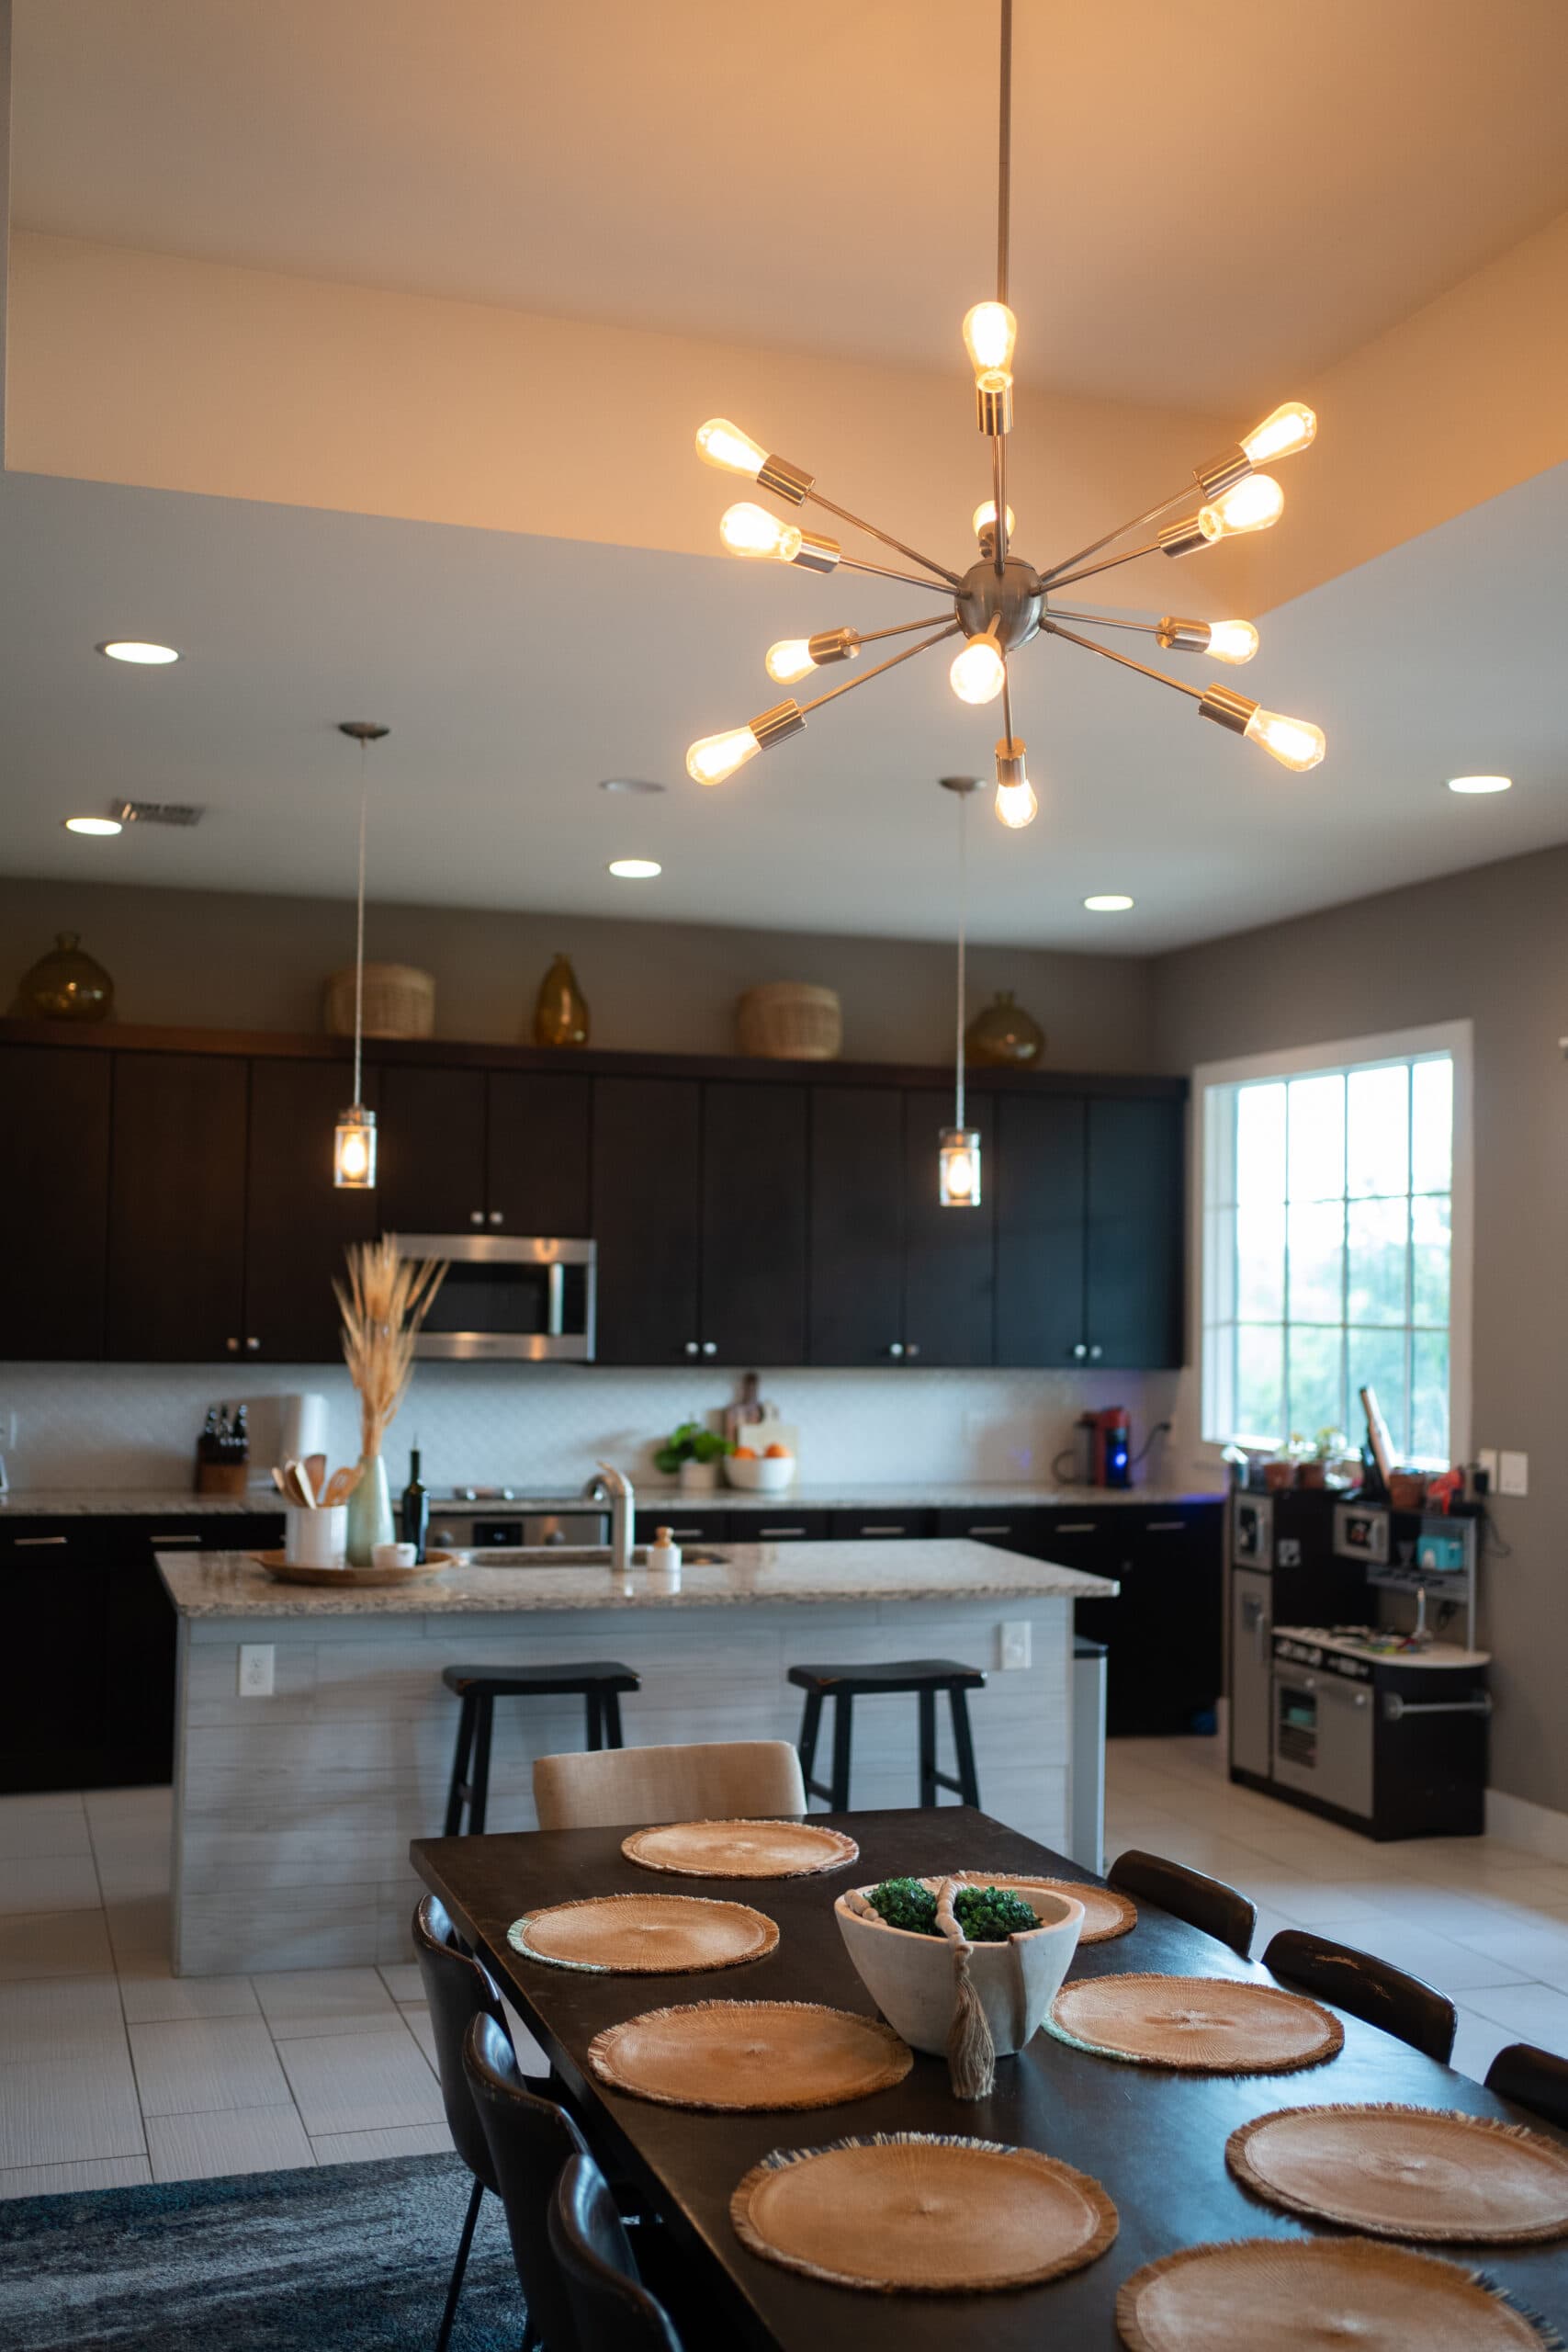
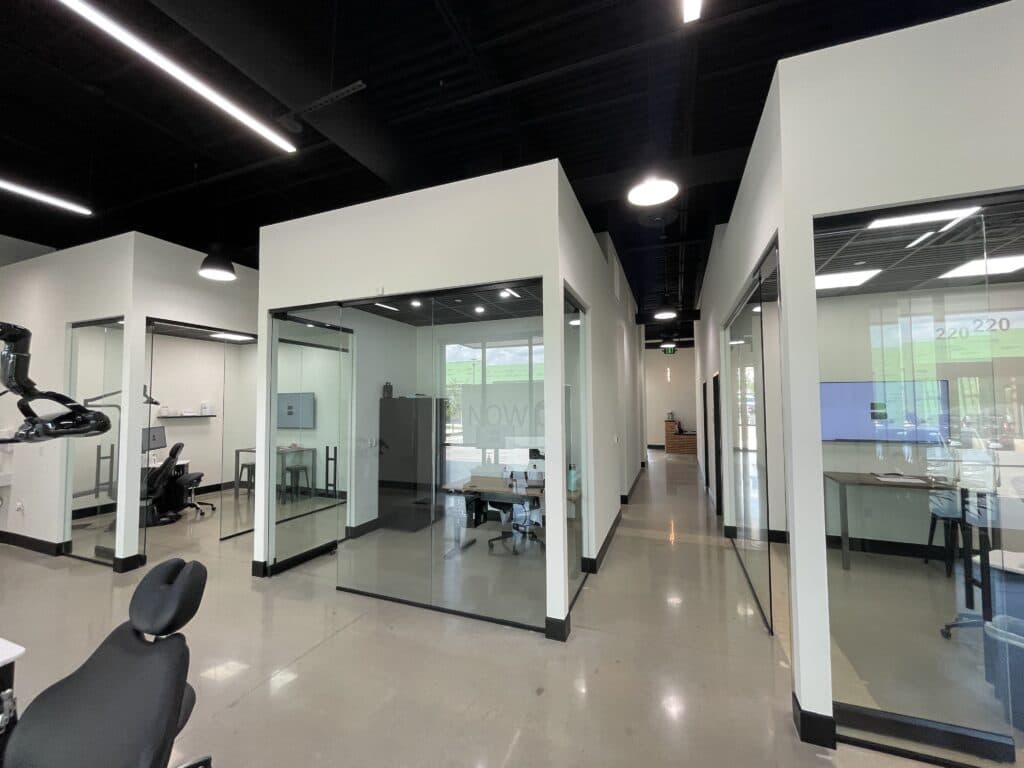
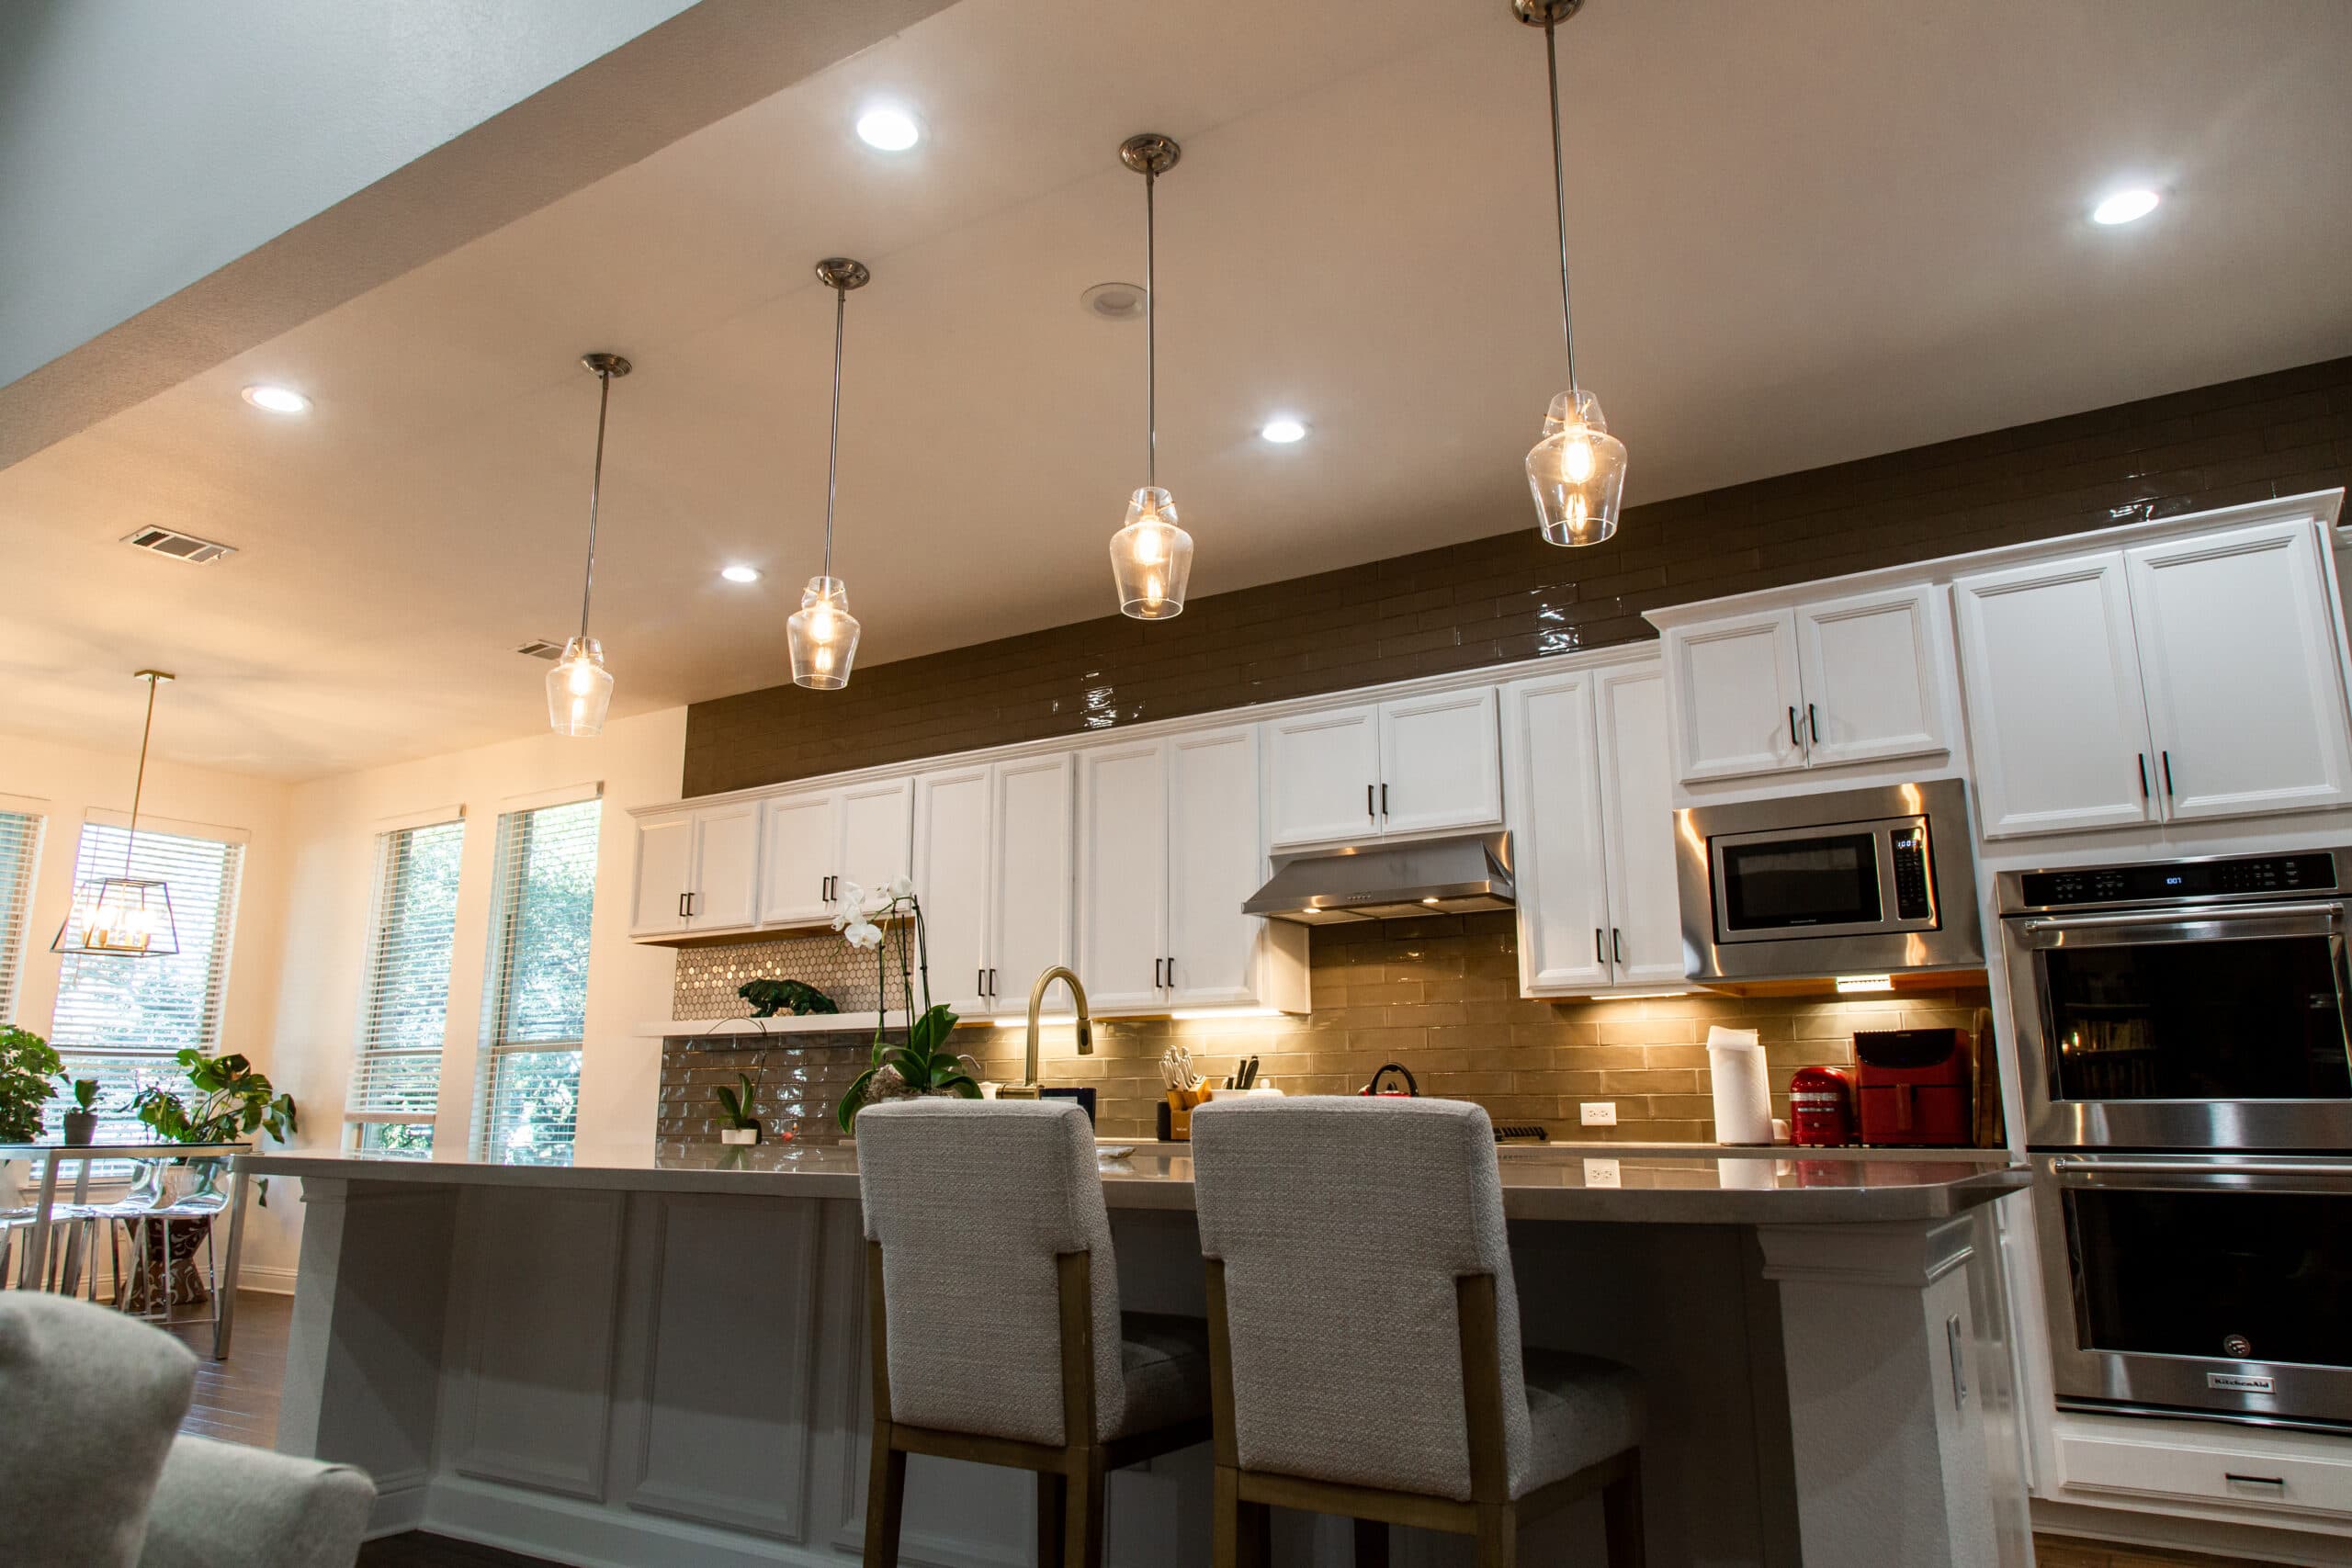
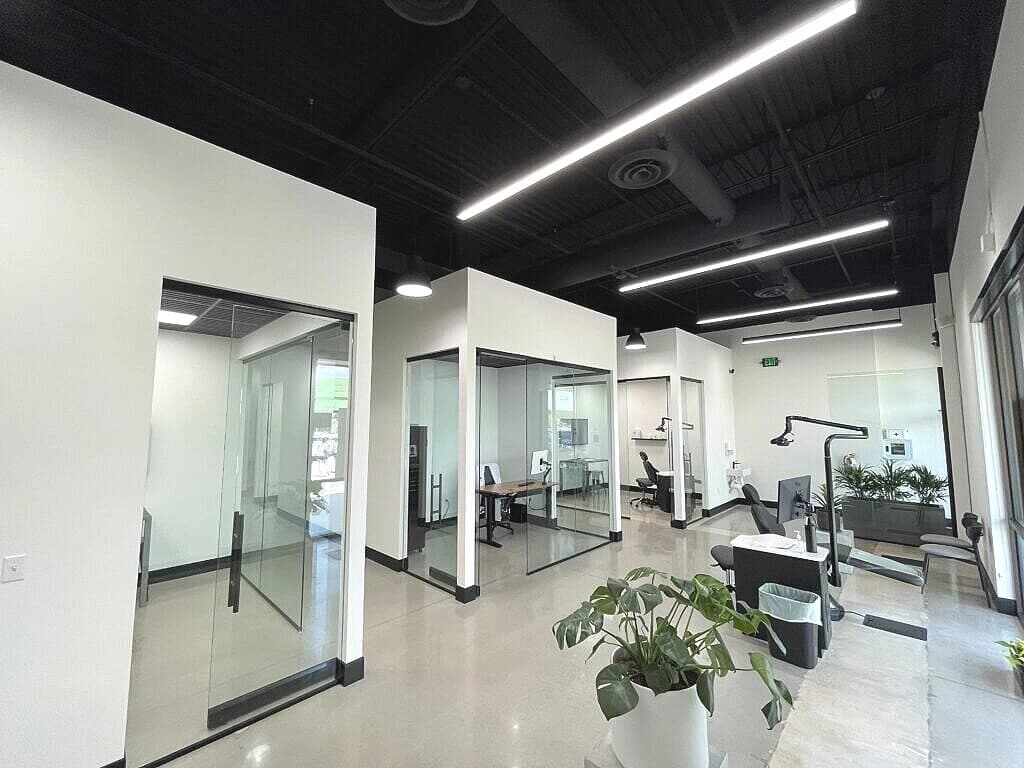
Lighting, panels, remodels and commercial fit-outs from homes and businesses around the Hill Country and greater Austin.
Rated by Central Texas homeowners
Real reviews from our Google Business Profile, in our customers' own words.
Chris and Caden did an amazing job installing my EV charger and helped assist me with other electrical questions I had around my house!! Very professional and kind. I highly recommend them!
Chris and Caden did a great job of installing a dedicated circuit and outlet for us. They were very thorough in checking out the existing circuit outlets and also patient with explaining everything before starting. I appreciated especially the quality of their work, their professionalism, and their willingness to throw in extra work where they saw fit at no charge. In short, I couldn’t be happier about the job they did.
Chris and Caden were awesome - they installed an entire new main panel and a new subpanel very effectively. We knew exactly what to expect at every step in the process, and now everything is up to code! If we need any additional electrical work, we will absolutely call Magnify Electric.
Trayvon is such a professional. He answers any and all questions. Does an amazing job in whatever is needed, and you’d never even know he had been here as he tidies up impeccably. He is our family’s electrician. I’d give 10 stars if able!
Felt lucky to have found Magnify Electric. Christian fixed the issue we were having with our hardwired smoke alarms, installed a whole-house surge protector, and fixed a longstanding light switch issue. He did everything with excellence and efficiency. He did a great job of communicating throughout the process. Thanks so much!
Showed as scheduled. Had to coordinate with PEC and everything went very smoothly. Christian was very professional and completed the job quickly. Very satisfied with the results. I would recommend them to do any electrical work in my home.
Serving Austin and the Hill Country
We are based in Spicewood and cover the lake communities, the Hill Country and greater Austin. Find your town below for local details.
Headquarters: 22503 State Highway 71 W, Spicewood, TX 78669
Questions homeowners ask us
Do you charge for a service call or diagnostic?
When the cause of a problem is unknown, we charge a troubleshooting fee to send a licensed electrician out, find the cause and run a 54-point safety inspection. From there we give you optional, flat-rate pricing for any repairs so you can decide how to proceed.
How does your pricing work?
We use flat-rate pricing. For a repair, we charge a troubleshooting fee to find the cause, then give you a clear, flat-rate price for the fix so you can decide whether to move forward. For known installs, you get the flat-rate price up front. You are never billed by the hour.
What areas do you serve?
We are based in Spicewood and serve Austin and Central Texas, including Lakeway, Bee Cave, Dripping Springs, Marble Falls, Georgetown, Round Rock, Cedar Park, Leander and the surrounding lake and Hill Country communities.
Are you licensed and insured?
Yes. Magnify Electric holds TECL 29321 and TX Master License 269417 and is regulated by the Texas Department of Licensing and Regulation. All work is completed to the current National Electrical Code.
Can you help in an electrical emergency?
Call us at 512-731-0868 and we will walk you through the next steps. If you smell burning, see sparking or have a hot panel, turn off power at the breaker if you can do so safely, keep everyone clear, and call 911 for an active fire or your utility for a downed line.
Do you offer financing?
Yes, financing is available on qualifying work, so a larger job like a panel replacement or whole-home rewire does not have to wait. Ask us about options when we quote the work.
Do you offer any discounts?
Military members, educators and first responders get 15% off through a complimentary VIP membership. We also run a monthly special and the Magnify Protection Plan membership, which includes member savings on every visit.
What is the Magnify Protection Plan?
It is our membership plan. Members get an annual safety inspection and panel maintenance, priority scheduling, 15% off services, annual smoke-detector checks and a lifetime warranty on our work while the membership is active.
Get your electrical project started
Tell us what is going on and we will get back to you within one business day. For anything urgent, call us now and talk to a real person.